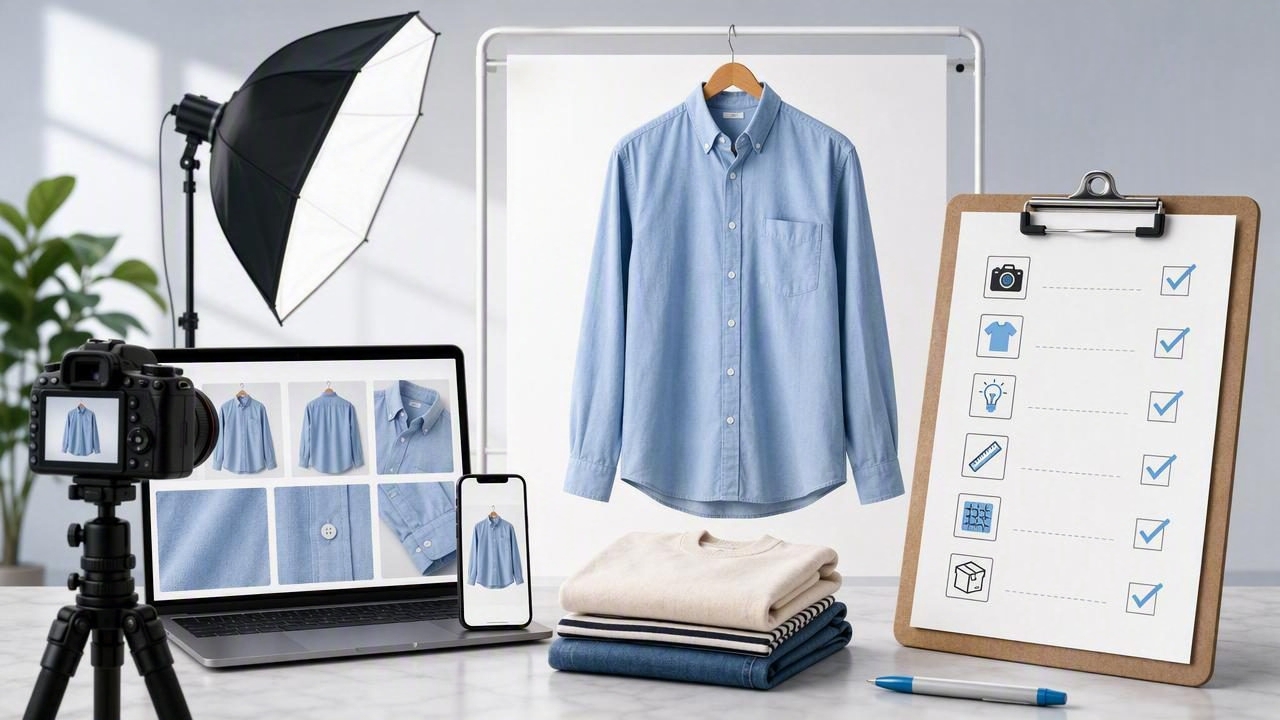
In online fashion, shoppers cannot touch the fabric, check the fit, or inspect the condition in person. Your product photography has to do that work for them. Clear, consistent clothing photos help customers understand what they are buying, reduce uncertainty, and make a listing feel more trustworthy.
Whether you sell one-off secondhand pieces, run a growing fashion resale store, or manage a clothing brand, a repeatable photography process saves time. It also creates a more professional storefront across marketplaces, social channels, and your own e-commerce site.
This checklist covers the essential steps for better clothing product photography, from preparing garments to choosing image angles and editing final images for a polished listing.
Why Product Photography Matters for Clothing Sales
Fashion shoppers make fast decisions. Before they read measurements or product descriptions, they notice the first image in a listing. A cluttered background, poor lighting, or wrinkled item can make even a great piece look less desirable.
Strong e-commerce photography does not need to look overly styled or expensive. It needs to be accurate, easy to understand, and consistent with the expectations of your ideal buyer. The goal is to show the clothing clearly while giving shoppers useful visual information.
- Builds trust: Clear photos make sellers and brands appear more reliable.
- Shows condition: Buyers can see fabric texture, fading, flaws, and wear.
- Communicates fit: Multiple angles help shoppers picture shape and proportions.
- Creates consistency: Similar photos make your shop look organized and intentional.
- Supports faster decisions: A complete image set answers questions before a buyer asks them.
Good clothing photography is not about hiding imperfections. It is about presenting each item clearly enough for the right buyer to purchase with confidence.
1. Prepare Every Garment Before You Photograph It
The fastest way to improve product photos is to prepare the item before opening your camera. Editing can refine an image, but it cannot fully replace clean styling, correct shape, and careful presentation.
Start by inspecting the garment under bright light. Look for lint, pet hair, loose threads, stains, missing buttons, pilling, or small pulls. If a flaw exists, do not try to conceal it. Photograph it separately and mention it in the listing description.
Garment preparation checklist
- Steam or smooth visible wrinkles and creases.
- Remove lint, dust, and stray fibers with a lint roller.
- Fasten buttons, zip zippers, and tie adjustable straps.
- Shape collars, sleeves, hems, and waistbands evenly.
- Check pockets, linings, and seams for bunching.
- Use clips or pins discreetly when needed to improve shape.
- Photograph any damage, alterations, or signs of wear honestly.
Wrinkles are especially distracting in clothing listings because they can make an item appear neglected or poorly stored. For flat lays, gently arrange the fabric so the silhouette reads clearly. For hanger photos, make sure shoulders sit evenly and the garment is not twisted.
2. Choose a Presentation Style That Fits the Item
There is no single best way to photograph apparel. The right clothing presentation depends on the item, your available space, your target customer, and the selling platform. What matters most is choosing a method you can repeat consistently.
| Presentation Style | Best For | Main Benefit |
|---|---|---|
| Flat lay | T-shirts, knitwear, casual items | Simple, fast, and easy to repeat |
| On hanger | Dresses, blouses, jackets, coats | Shows length and overall silhouette |
| Ghost mannequin | Structured apparel and branded pieces | Creates a dimensional, body-shaped look |
| Model shot | Fit-focused items and styled collections | Helps shoppers visualize scale and wear |
| Folded presentation | Denim, sweaters, basics, bundles | Works well for details and tidy inventory photos |
A ghost mannequin image can be useful for pieces where fit and structure matter, such as blazers, dresses, activewear, or button-down shirts. It gives the garment shape without distracting shoppers with a visible person or background. For softer items, a clean flat lay may communicate the product just as effectively.
Whatever style you choose, avoid switching randomly between setups within the same storefront. A consistent visual approach helps buyers browse more easily.
3. Set Up Simple, Reliable Lighting
You do not need a studio full of equipment for strong product photography. You do need soft, even lighting that shows true color and prevents harsh shadows. A bright window with indirect daylight can work well, especially when paired with a white foam board or reflector to soften shadows.
If natural light is inconsistent, use a basic continuous light setup. Place lights at an angle to the garment rather than directly in front of it. This helps reveal texture while keeping the lighting balanced.
Lighting tips for accurate clothing photos
- Use the same lighting location whenever possible.
- Avoid direct sunlight, which can create strong shadows and washed-out areas.
- Turn off mixed indoor lights that make colors look yellow or blue.
- Check dark garments closely so details do not disappear into shadow.
- Use a plain white or neutral surface to reduce unwanted color reflection.
Take a quick test photo before shooting a full batch. Compare the photo with the real garment, especially for colors such as red, navy, cream, olive, and black. Color accuracy is an important part of buyer trust.
4. Capture the Essential Image Angles
Each image should answer a specific buyer question. Your cover photo should make the product instantly recognizable, while the remaining photos should explain details, condition, and fit.
For most clothing listings, aim for a complete set rather than relying on one attractive image. The exact number will vary by platform, but a practical sequence includes the following:
- Front view: A clean, centered full-garment photo for the main listing image.
- Back view: Shows the complete design and any rear details.
- Side or angled view: Useful for showing shape, drape, or volume.
- Brand and size label: Helps verify the item and makes browsing easier.
- Fabric close-up: Shows weave, texture, print, embroidery, or material details.
- Feature photos: Capture pockets, closures, cuffs, lining, hardware, or special design elements.
- Condition photos: Clearly document flaws, wear, or repairs when present.
- Measurement image: Include a tape measure across key areas when helpful.
For example, a vintage denim jacket listing might include a front view, back view, label, button detail, denim texture close-up, sleeve measurement, and a photo of any fading or marks. This is more useful than several near-identical front photos.
5. Keep Backgrounds Clean and Distraction-Free
The garment should remain the focus of every image. Busy rooms, patterned bedding, crowded racks, and visible household objects can make a listing feel less polished. They may also distract shoppers from the color, cut, and condition of the piece.
A plain white, light gray, or soft neutral background is a practical choice for most fashion resale and e-commerce photography. It works across many styles and helps create a cohesive catalog. Some marketplaces also prefer or require a clean primary image, so always check platform-specific guidance before publishing.
If you cannot create a perfect shooting area, background removal can help produce cleaner final images. Use it carefully: edges around lace, faux fur, sheer fabrics, and straps should still look natural. Review the result at full size before uploading.
6. Edit for Clarity, Not for Misrepresentation
Editing should make a photo more accurate and easier to view, not change the product itself. Basic adjustments can correct common camera issues and bring consistency to a batch of images.
- Crop images to a consistent ratio and center the garment.
- Adjust brightness so details remain visible.
- Correct white balance to improve color accuracy.
- Remove simple background distractions when appropriate.
- Straighten images so hangers, hems, and edges look level.
- Use wrinkle reduction thoughtfully while preserving fabric texture.
Avoid editing that changes the garment color, removes real flaws, alters proportions, or makes the item look newer than it is. Honest product photography may lead to fewer surprises after purchase and can help reduce return-related issues.
7. Create a Repeatable Product Photography Workflow
Efficiency matters when you have multiple items to list. Instead of completing one listing from start to finish, work in batches. Prepare several garments, photograph them in the same setup, then edit and upload them together.
A simple batch workflow
- Sort items by presentation type: flat lay, hanger, folded, or mannequin.
- Inspect, steam, lint-roll, and style each item.
- Photograph all front views first, then backs, labels, details, and measurements.
- Review images for focus, color, and missing angles before putting items away.
- Edit images using the same crop, background, and lighting standards.
- Name or organize files so they match the correct inventory item.
- Upload photos in an order that tells a clear visual story.
This system reduces setup time and makes it easier to maintain a consistent look. It also prevents a common reseller problem: discovering that a label, flaw, or measurement photo is missing after the garment has already been packed away.
Final Product Photography Check Before You Publish
Before making a listing live, use this quick final review:
- Is the first image bright, centered, and easy to understand?
- Do the photos show the front, back, labels, details, and condition?
- Does the garment color look close to the real item?
- Are wrinkles, lint, uneven hems, and distractions addressed?
- Are any flaws shown clearly rather than hidden?
- Do all images use a similar background and editing style?
- Would a buyer feel confident about what will arrive?
Better product photography is built through small, repeatable improvements. Clean styling, useful angles, soft lighting, and honest editing can turn ordinary clothing images into listings that feel credible and easy to shop. For sellers who want to streamline tasks such as background cleanup, wrinkle reduction, and ghost mannequin presentation, tools such as Clothing Studio can support a faster mobile workflow.