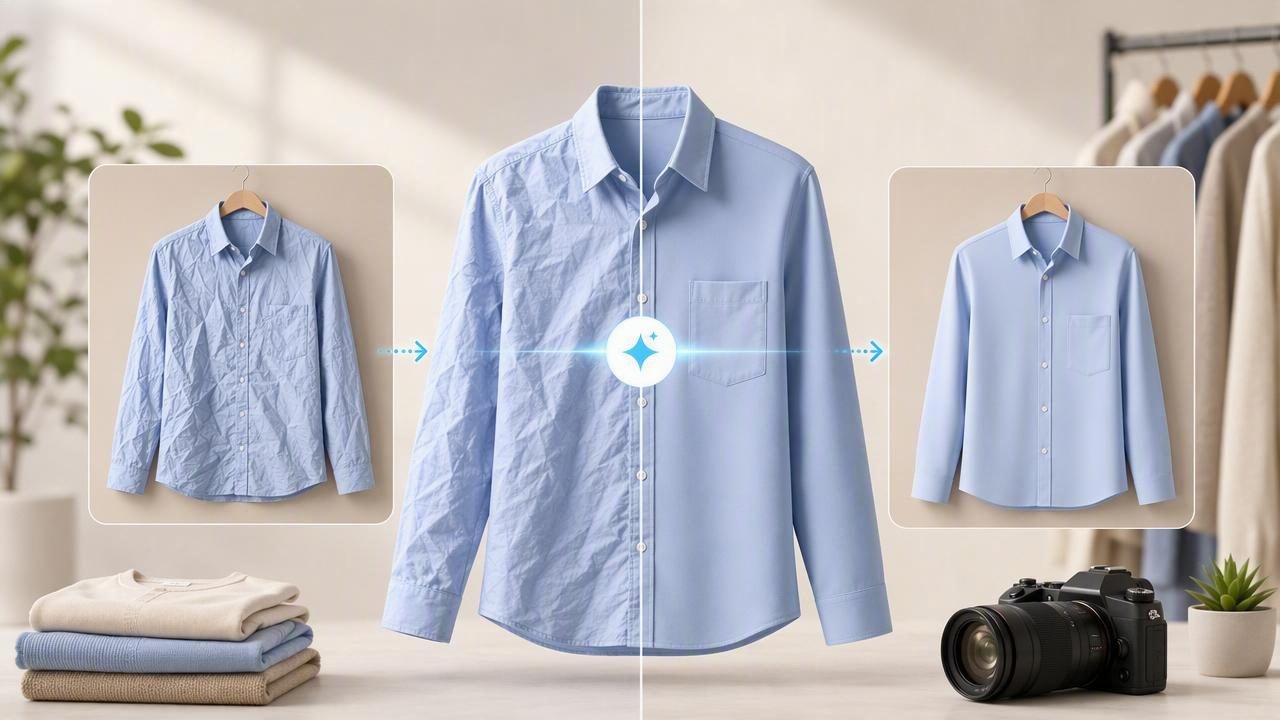
Wrinkled clothing can make an otherwise strong resale listing look less appealing. A neatly photographed blazer, dress, sweater, or pair of jeans is easier for shoppers to evaluate and often appears more cared for. But steaming every garment before taking photos can be slow, especially for fashion resellers managing a large inventory.
An AI app to remove wrinkles can help improve the appearance of minor creases in clothing photos after the image is taken. Used thoughtfully, it can support a cleaner e-commerce photography workflow without changing the garment’s true condition. The key is knowing which wrinkles to soften, which details to preserve, and when a physical garment touch-up is still the better option.
This guide explains how AI wrinkle removal fits into clothing presentation, how to get better starting images, and how to keep edited product photos honest for buyers.
Why wrinkles affect clothing listings
In online resale and e-commerce, shoppers cannot touch the garment. They rely on photos to understand the item’s shape, fabric, color, and condition. Heavy wrinkles can distract from those details. They may make a structured shirt look limp, hide a dress’s drape, or make a folded sweater appear less polished than it is.
Not every wrinkle is a problem. Natural folds in knitwear, denim texture, gathered fabric, pleats, and intentional draping are all part of how certain garments look. The issue is usually temporary presentation wrinkles caused by storage, shipping, folding, or handling during photography.
Removing or softening those distractions can make a listing image easier to scan. It may also help create a more consistent catalog when you photograph many items in different sessions.
What an AI wrinkle remover can and cannot do
AI photo editing can analyze the visible garment area and reduce the appearance of some surface wrinkles. This is most useful when the item is already reasonably well presented but has a few creases that pull attention away from the garment’s cut or color.
For example, imagine you are listing a navy button-down shirt. You photograph it on a hanger against a plain wall, but horizontal packing creases show across the lower front. An AI editing tool may soften those creases in the main listing photo, helping the shirt look tidier while retaining visible elements such as the collar, buttons, chest pocket, and seams.
However, wrinkle removal has important limitations. It should not be treated as a way to recreate fabric, repair damaged clothing, or change the item’s fit.
- It cannot fix physical damage. Snags, holes, stains, pilling, fading, stretched areas, and missing buttons should remain accurately represented.
- It may not preserve every subtle fabric detail. Fine ribbing, embroidery, lace, textured knits, and complex prints require a careful review after editing.
- It does not simulate an exact fit. Removing wrinkles does not show how a garment will fit a buyer or how it will drape on every body type.
- It should not erase relevant condition information. If a crease is permanent or related to wear, it may be important to show it rather than edit it away.
Think of AI wrinkle retouching as presentation cleanup, not product alteration. A good result makes the image clearer while leaving the garment recognizable and accurately described.
Start with a better original photo
The best AI-edited image begins with a solid original. Editing can improve a photo, but it cannot fully compensate for poor lighting, a cluttered backdrop, motion blur, or a garment that is badly bunched up.
Prepare the garment first
Before photographing, shake out the garment and straighten obvious folds by hand. If practical, use a steamer for deep wrinkles, particularly on formalwear, linen, silk-like materials, and structured pieces. Smooth collars, cuffs, waistbands, hems, and pockets so the overall silhouette reads clearly.
This preparation is not about making every item look factory-new. It simply reduces the amount of correction needed later. Light editing tends to look more natural when the clothing was already arranged with care.
Use even lighting
Soft, even light helps distinguish wrinkles from shadows. Window light near a bright but indirect source often works well. Avoid harsh overhead lighting, which can create deep shadow lines that resemble creases and make editing less predictable.
Try to keep the lighting consistent across your inventory. For example, photograph all tops near the same window or use the same simple lighting setup. Consistency supports a more cohesive storefront and makes it easier to judge whether the editing remains realistic.
Choose a clear presentation style
Different garments benefit from different layouts. A blazer may show its structure best on a hanger or in a ghost mannequin image. A graphic sweatshirt may work well as a flat lay. Folded clothing can be useful for stacks, knitwear, and detail shots, but folds should not hide key features.
| Presentation style | Best for | Wrinkle considerations |
|---|---|---|
| Flat lay | T-shirts, sweaters, casual dresses | Smooth the torso and sleeves while retaining natural shape. |
| On hanger | Shirts, jackets, dresses | Check for shoulder bunching and hanging creases near the hem. |
| Folded | Knitwear, jeans, inventory stacks | Keep intentional folds crisp; avoid over-editing fold lines. |
| Ghost mannequin | Structured apparel and full garment views | Review armholes, collars, and interior edges carefully after editing. |
A practical workflow for removing wrinkles in clothing photos
A reliable workflow focuses on restraint and review. Instead of editing every image aggressively, decide which listing photos need cleanup and compare each result with the original.
- Take several photos of the item. Capture a front view, back view, close-ups of labels and details, and any flaws. Make sure at least one image documents the garment’s actual condition clearly.
- Select the strongest primary image. Choose the photo with the clearest silhouette, best lighting, and least distracting wrinkles. AI editing works best when it is refining a good image rather than rescuing a poor one.
- Apply wrinkle reduction selectively. Focus on temporary-looking creases in broad fabric areas, such as a shirt front or a skirt panel. Avoid treating seams, pleats, cuffs, logos, prints, and textured areas as if they were wrinkles.
- Compare before and after. Zoom in around buttons, necklines, pocket edges, and patterned fabric. If a detail appears blurred, warped, or unnaturally smooth, use the original image or choose a lighter edit.
- Keep condition photos truthful. Use close-up photos to disclose stains, pulls, repairs, worn fabric, or permanent creases. Editing should never make a used item appear free of defects it actually has.
- Use a consistent final image set. Match backgrounds, crops, and editing intensity where possible. This helps buyers browse your listings with less visual friction.
How to tell whether the result looks natural
The best wrinkle-reduced product photo does not call attention to the edit. It simply allows shoppers to focus on the garment. Before publishing, review your image at both full size and thumbnail size.
- Does the garment still have believable dimension and drape?
- Are seams, buttons, zippers, labels, prints, and fabric texture still visible?
- Do shadows look consistent with the lighting in the original photo?
- Has the edit accidentally changed the edge of a sleeve, collar, or hem?
- Would a buyer recognize the item from the photo when it arrives?
If the answer to the last question is uncertain, use a more conservative version. In resale, accurate photos create better expectations and can reduce avoidable questions or returns.
Common mistakes when using AI wrinkle removal
Trying to remove every fold
Clothing is three-dimensional, so some folds are necessary. A dress gathered at the waist, a pair of jeans at the knee, or a soft cardigan on a hanger should not look completely flat. Over-smoothing can make fabric appear artificial and may obscure the design.
Editing away wear-related details
A permanent crease from wear, a faded fold line, or a damaged area should be disclosed rather than hidden. Clear listing descriptions and close-up images matter just as much as polished primary photos.
Using one image to show everything
A clean hero image is useful, but it should be supported by detail photos. Include the front, back, tag, fabric close-up, measurements when relevant, and any flaws. This gives buyers a fuller view of the item beyond the edited presentation image.
Ignoring the background and crop
Wrinkle reduction alone cannot solve a distracting product image. A simple background, straight crop, and centered garment help shoppers focus. Background removal can be helpful when the original setting is cluttered, but review the garment edges to make sure they remain clean and believable.
When physical steaming is still the right choice
AI editing is convenient for minor presentation wrinkles, but some garments need real preparation before photography. Steam or press the item when deep folds affect its silhouette, when fabric has high sheen, or when the garment is premium enough that buyers will inspect every visual detail closely.
Physical care is also the better choice when wrinkles occur around construction details, such as a blazer lapel, pleated skirt, tailored trouser crease, or shirt collar. Those areas communicate fit and structure, so the original garment should look as good as possible before it reaches the camera.
A balanced approach often works best: steam the strongest creases, arrange the garment carefully, photograph it in even light, then use AI for light finishing adjustments where appropriate.
Use AI editing to support accurate clothing presentation
An AI app to remove wrinkles can make a practical difference for sellers who photograph clothing regularly. It can help reduce visual distractions, improve consistency, and make a listing’s main image feel more organized. But the goal should always be an honest, useful representation of the product—not a version that hides its real condition.
For sellers looking to learn more about responsible garment-photo cleanup, Clothing Studio’s guide to removing clothing wrinkles in photos offers additional context on using AI editing for apparel presentation. Review every result, retain clear condition images, and let the garment’s real details guide your final listing photos.
