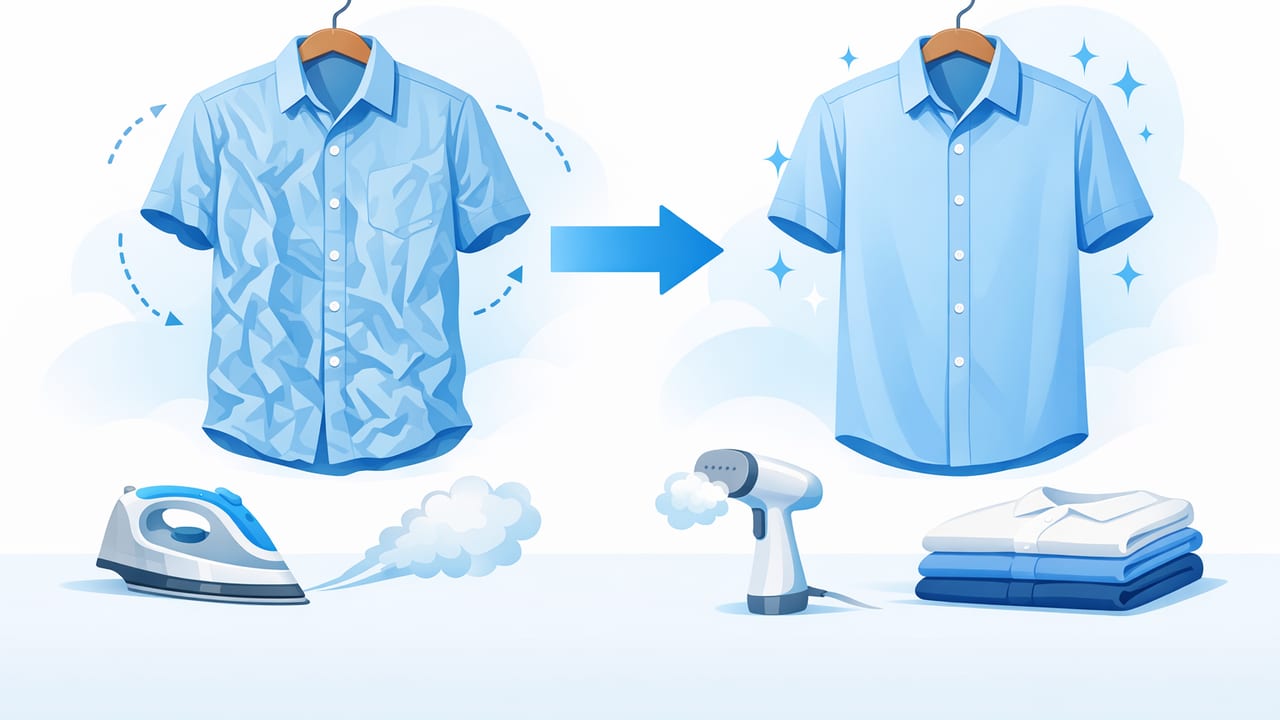
Wrinkles are one of the fastest ways to make a great piece look “used,” even when it’s fresh from a clean closet. For fashion resellers and small brands, the goal isn’t perfection—it’s clarity: show the garment’s shape, fabric, and condition without distracting creases. The good news is that you can unwrinkle clothes for photos with a mix of quick physical prep and smart editing, without turning every listing into a full production.
This guide walks through a practical, repeatable workflow to reduce wrinkles before you shoot, capture cleaner images, and then fix what’s left with fast photo touch-ups—especially useful when you’re photographing dozens of items per session.
Why wrinkles matter in e-commerce photos
Most shoppers scroll quickly. Wrinkles create visual “noise” that can:
- Make fabric look lower quality or worn
- Hide details like seams, pleats, and drape
- Distract from color accuracy (creases create shadows)
- Increase questions and returns (“Is it damaged?”)
If you consistently unwrinkle clothes in your images, your catalog looks more cohesive—and shoppers spend more time evaluating the item, not the photo.
The 3-stage workflow: prep, shoot, edit
The most efficient approach is not “iron everything.” It’s a three-stage process:
- Prep: reduce the worst wrinkles quickly
- Shoot: use styling and lighting to minimize visible creases
- Edit: remove remaining wrinkles and distractions consistently
Even small improvements at each stage add up to noticeably cleaner listings.
Stage 1: Quick prep methods to unwrinkle clothes (without a full ironing session)
1) Steam: fastest for most fabrics
Steaming relaxes fibers without pressing them flat, which is ideal for knits, blouses, and many dresses. For quick results:
- Hang the garment on a sturdy hanger
- Steam from top to bottom, keeping the steamer head slightly off the fabric
- Let it cool for 1–2 minutes before shooting (warm fabric re-wrinkles easily)
Tip: Steam the side that will face the camera first. If you’re short on time, prioritize the front panel, collar area, and sleeves.
2) The “shower steam” trick (good in a pinch)
No steamer? Hang the item in a bathroom while a hot shower runs for 10–15 minutes. It won’t handle deep creases, but it can soften shipping folds enough for photos.
3) Wrinkle-release spray + smoothing
Wrinkle-release sprays work best on cotton blends and casual items. Mist lightly, then use your hands to smooth fabric along the grain. Avoid over-wetting—wet spots can show under strong lighting.
4) Flat-lay “weight and rest” method for tees and lightweight knits
For simple tops, you can often unwrinkle clothes by laying the garment flat, aligning seams, and placing clean books or a folded towel at the edges for 10–20 minutes. This helps relax minor ripples, especially around hems and collars.
5) Iron only where it counts
If you do iron, focus on high-visibility areas:
- Collars and plackets
- Cuffs
- Front panel (center area)
- Pant thigh area (where creases read as “wear lines”)
Use a pressing cloth for delicate fabrics and avoid creating a hard shine on synthetics.
Stage 2: Shooting tactics that make wrinkles less visible
Choose the right presentation: hanger, flat lay, or mannequin/ghost
Your setup affects how wrinkles appear:
- On-hanger: fast, but fabric can bunch at shoulders if the hanger is too wide or too narrow.
- Flat lay: great for smoothing, but can reduce shape and drape if not styled carefully.
- Mannequin/ghost mannequin style: best for showing structure; wrinkles often reduce because the garment is “filled.”
Pick the method that complements the item. Structured jackets benefit from form; tees often look cleanest as a flat lay.
Use soft, even light to avoid harsh crease shadows
Wrinkles become obvious when they cast strong shadows. Aim for:
- Bright, diffused light (a large window with a sheer curtain, or a softbox)
- Light coming from slightly above and in front
- A reflector (even a white foam board) to fill shadowy areas
Avoid: overhead room lights + direct flash, which exaggerate texture and make creases look deeper than they are.
Style for tension (without stretching)
A small amount of tension smooths fabric:
- Use clips behind the garment on a hanger to pull excess fabric taut (keep clips hidden)
- Tuck the hem slightly behind for shape
- Align shoulder seams and side seams before shooting
The goal is to present the garment’s true silhouette—not to distort sizing.
Shoot multiple angles to reduce “problem areas”
If one side has stubborn creasing, take a straight-on photo, then slightly angled shots. Sometimes a 10–15° change reduces wrinkle visibility dramatically while still being honest about condition.
Stage 3: Editing to remove remaining wrinkles (and keep listings consistent)
Even with good prep, you’ll often have mild creases—especially from storage or shipping. Editing is where you can consistently unwrinkle clothes across a whole batch of inventory without re-shooting.
What to fix vs. what to leave
A useful rule: remove distractions, not reality.
- Fix: harsh fold lines, random crumpling, hanger dents, and heavy creases that look like damage
- Keep (lightly): natural drape lines, intentional pleats, and texture that represents the fabric
Over-smoothing can make fabric look “plastic” and can misrepresent texture—especially for linen, seersucker, and rib knits.
Wrinkle-editing checklist (fast and repeatable)
- Zoom to 100% and scan the center front (where eyes land first)
- Soften the deepest crease shadows before smoothing highlights
- Protect edges like seams, pockets, buttons, lace, and embroidery
- Keep lighting consistent across photos (wrinkle removal should not change overall exposure)
Pair wrinkle reduction with background cleanup
Wrinkles look worse on messy backgrounds because the image feels cluttered. Clean background removal (or a consistent neutral background) makes the garment look more polished even before you do wrinkle work.
Quick decision table: best way to unwrinkle clothes by garment type
| Garment | Fast prep | Shooting tip | Editing focus |
|---|---|---|---|
| T-shirt / knit top | Flat-lay + rest, light steam | Flat lay with aligned seams | Remove collar ripples and random crumples |
| Button-down shirt | Steam + quick iron on collar/placket | Hanger with clips behind | Soften fold lines across the chest and sleeves |
| Dress (woven) | Steam from top down | Form/ghost look for drape | Reduce vertical creases; keep natural drape |
| Jeans / trousers | Steam thigh/knee area | Hang straight; avoid twisting | Minimize harsh fold lines; keep denim texture |
| Blazer / coat | Steam lapels and sleeves | Shoulders supported; structured pose | Clean up lapel creases and sleeve dents |
Common mistakes that make wrinkles look worse
- Shooting right after steaming: warm fabric wrinkles again as you reposition it.
- Using a bad hanger: narrow hangers create shoulder dents; oversized hangers warp the neckline.
- Harsh direct lighting: it turns small ripples into deep shadows.
- Over-editing: removing texture can make linen and cotton look unnatural.
- Ignoring symmetry: if one sleeve is twisted, it reads like wrinkling even if it’s just misalignment.
A simple batch workflow for resellers (20–50 items per session)
Speed matters. Here’s a practical routine that keeps quality high:
- Sort by fabric: steam-friendly items together; save delicate pieces for last.
- Prep in waves: steam 5–10 items, let them cool while you shoot the previous batch.
- Use one lighting setup: don’t change bulbs or window direction mid-session if possible.
- Shoot a consistent set: front, back, label, close-up of flaws, detail shot.
- Edit as a batch: apply the same background and wrinkle-reduction approach to maintain consistency.
Optional: clean file naming for faster listing
This isn’t required, but it saves time when uploading. A simple pattern:
brand_itemtype_color_size_angle.jpg
Example: madewell_tee_black_m_front.jpg
FAQ: unwrinkle clothes for photos (quick answers)
Can I just fix wrinkles in editing and skip steaming?
You can, but it’s faster and more natural-looking if you reduce the worst creases first. The best results come from a small amount of prep plus light editing—not extreme smoothing.
How do I avoid “shiny” spots after ironing?
Use a pressing cloth, lower heat, and avoid pressing directly on synthetics. Steaming is often safer for mixed fabrics.
What fabrics are hardest to de-wrinkle?
Linen and some crisp cotton weaves wrinkle easily by nature. Your goal is to remove harsh fold lines while keeping natural texture so the item still looks honest.
Putting it all together
To unwrinkle clothes for listings efficiently, don’t rely on one magic step. Combine quick prep (steam or targeted ironing), wrinkle-friendly lighting, and consistent editing. Over time, you’ll build a repeatable workflow that produces clean, sell-ready images—without slowing down your inventory pipeline.
If you prefer doing wrinkle reduction and background cleanup in one mobile workflow, an AI photo editor like Clothing Studio can help streamline the finishing touches after your shoot.
