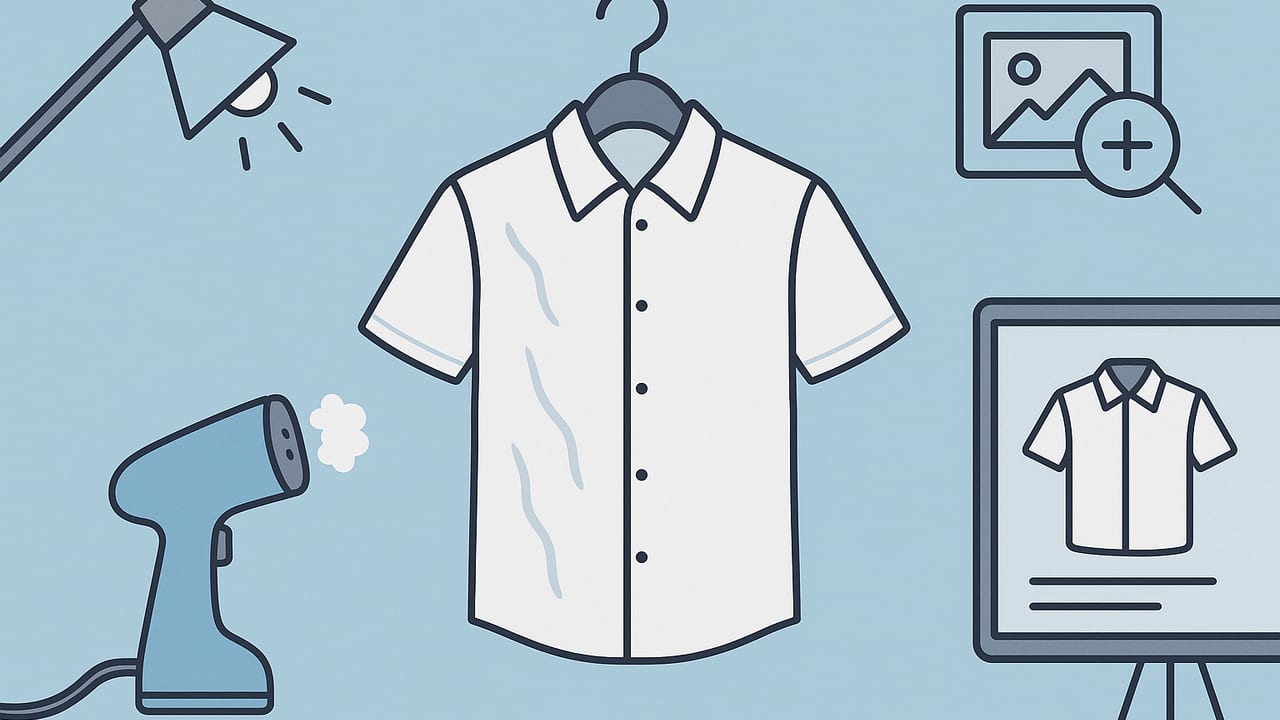
If you want your product photos to convert, you must unwrinkle clothes for online fashion listings before you hit publish. Wrinkles signal “used” or “uncared-for,” even when the garment is pristine. The good news: you can prevent creases, tame stubborn folds, and polish your images with simple on-set techniques and smart post-processing—no studio required.
Why Wrinkles Slow Sales
Wrinkled garments reduce perceived quality and make buyers question fit and fabric condition. Creases create harsh shadows that exaggerate texture and pull attention away from silhouette and color. On marketplaces like Poshmark, eBay, Depop, and Etsy, you compete on clarity and trust—wrinkle-free photos make your listing look new, cared-for, and true-to-life.
Bottom line: smoother fabric = stronger first impressions, fewer questions, and faster sales.
Your Fast Prep Toolkit
You don’t need a fashion studio to prep garments well. Keep a small kit nearby so you can turn around listings quickly.
- Handheld steamer: Safe on most fabrics, fast, and portable.
- Iron with steam: Best for crisp edges; use carefully and test heat settings.
- Wrinkle-release spray: Useful for quick refreshes; spot test first.
- Hangers and clips: Slim velvet hangers reduce shoulder bumps; clips help control shape.
- Press cloth: A clean cotton cloth to protect delicate fabrics while ironing.
- Lint roller & microfiber cloth: Removes dust and keeps sheen even.
- Portable backdrop: Neutral white/gray helps your camera expose evenly, hiding minor creases.
The 5-Minute Rescue (When You’re Short on Time)
- Hang the item in a steamy bathroom for 3–5 minutes while you set up lights.
- Steam quick passes top-to-bottom, keeping the head 1–2 inches off the fabric.
- Smooth hems, cuffs, and plackets by hand; clip excess fabric at the back for shape.
- Light broadly (soft, even light) to reduce wrinkle shadows.
- Shoot slightly farther back to minimize micro-creases; crop later.
Stylist’s rule: “First fix the garment, then fix the photo.” Physical prep beats heavy retouching every time.
Fabric-Specific Ways to Unwrinkle
Not all wrinkles behave the same. Match your approach to the fiber.
- Cotton and denim: Can take heat and steam. For shirts, iron collars and cuffs with a press cloth for crisp lines; steam the body last. Hang jeans by the waistband to let the weight pull out minor creases.
- Linen: Embrace a light, natural texture and remove only the harsh creases. Steam from the inside, then smooth by hand. Over-pressing removes linen’s charm.
- Synthetics (poly, nylon, spandex blends): Use low heat and keep the steamer moving. These fabrics can develop sheen if overheated. Flatten rolled hems with gentle finger pressing while still warm.
- Silk and satin: Low steam only. Place a press cloth between iron and fabric, or steam from a short distance. Avoid water droplets that can spot.
- Knitwear: Don’t iron. Steam lightly and lay flat on a towel to shape. Smooth sleeve ribs with fingertips so they photograph evenly.
- Coats and structured pieces: Use a garment brush and steam the lining first; the outer shell often relaxes after the inside is smoothed.
Choose a Presentation That Hides Wrinkles
Your presentation method can naturally reduce visible creases, especially along seams and underarms.
- On-hanger: Easiest and fast. Use a well-fitted hanger and clip excess fabric at the back for shape. Pull the hem taut just before the shot.
- Flat lay: Great for knits and tees. Smooth the garment from the center outward. Use masking tape on the underside to hold tricky edges flat.
- Mannequin or ghost mannequin: Shows fit without distractions and can hide minor back wrinkles. Pin and tape inside seams to refine the silhouette.
- On-model: Body warmth softens light creases; ask the model to adjust posture to reduce fabric bunching at the waist and elbows.
Lighting That Minimizes Wrinkles
Wrinkles look worst in hard, directional light. Aim for soft, even illumination.
- Diffuse your light: Use a large softbox, sheer curtain, or bounce light off a white wall/board.
- Bring the light source close: The closer (and larger) your light relative to the garment, the softer the shadows.
- Fill shadows: Place a reflector opposite your main light to lift dark creases.
- Avoid low, raking angles: Light from slightly above and front-on to reduce texture emphasis.
Simple Shooting Techniques
- Step back, zoom in: Stand a bit farther and zoom to reduce distortion and “texture pop.”
- Mind the angles: Shoot straight-on for catalogs; slight angles can hide minor belly or sleeve creases.
- Use burst mode: A quick series lets fabric settle between frames; pick the smoothest shot.
- Keep ISO low: Cleaner files handle gentle editing better, preserving fabric detail without boosting wrinkles.
Post-Processing: From Quick Fixes to AI Help
Even with great prep, a few wrinkles slip through. A light, natural edit can clean them up fast. Here’s a simple workflow that keeps fabric true-to-life.
1) Global cleanup
- White balance: Neutral color reduces distracting shadows that can exaggerate creases.
- Exposure and contrast: Lift exposure slightly; keep contrast moderate so wrinkles don’t deepen.
- Background: A clean, bright background lets faint wrinkles fade from attention.
2) Local wrinkle reduction
- Heal/clone tools: Use small, low-opacity strokes along seam puckers and strong creases. Sample nearby smooth fabric.
- Dodge & burn (subtle): Lightly dodge dark wrinkle troughs and burn bright crease highlights to flatten contrast without blurring texture.
- Texture/clarity sliders: Reduce texture slightly on sleeves and underarms, preserving key details like buttons and stitching.
3) AI-assisted retouching
Modern mobile editors can intelligently smooth fabric while keeping hems, seams, and logos crisp. Use sparingly—aim for a natural look that matches how the item would appear freshly steamed, not airbrushed. As a final step, review at 100% zoom and ensure brand details, weave, and embroidery remain sharp.
Which Method Should You Use?
| Method | Speed | Risk | Best For | Result |
|---|---|---|---|---|
| Handheld steamer | Fast | Low | Most fabrics | Natural smoothness |
| Iron + press cloth | Medium | Medium (heat) | Cotton, shirts | Crisp, structured |
| Wrinkle-release spray | Fast | Low–Medium | Poly blends, travel | Quick refresh |
| Hang in steam (bathroom) | Fast | Low | Light creases | Moderate smoothing |
| AI retouch | Fast | Low | Last-minute fixes | Clean, natural if subtle |
Checklist Before You Publish
- Presentation: Hanger, flat lay, mannequin, or model enhances the garment’s natural drape.
- Wrinkle audit: Check elbows, underarms, crotch area, side seams, and back yoke—these crease most.
- Detail shots: Buttons, collars, cuffs, pockets, hems: all smoothed and aligned.
- Lighting: Soft, even, and consistent across the set; no harsh shadow bands.
- Background: Clean and uniform; no distracting patterns or color casts.
- Editing: Subtle wrinkle reduction; texture preserved; color true to garment.
- Final review: Zoom to 100%; compare first and last images for consistency.
Common Mistakes (and Quick Fixes)
- Over-ironing adds shine: Use a press cloth and lower heat; move to steam instead.
- Steamer spits water: Purge into a towel before approaching the garment.
- Wrinkle moves elsewhere: Steam from the inside and pull fabric gently downward as you go.
- Texture looks “plastic” after editing: Undo heavy blur, rely on dodge/burn and targeted healing instead.
- Background shadows emphasize creases: Pull the garment farther from the backdrop and add a reflector.
FAQ: Quick Answers
How do I unwrinkle clothes for online fashion listings without a steamer?
Hang the item in a steamy bathroom for a few minutes, smooth with your hands, then use a wrinkle-release spray and let it air dry on a hanger. Shoot with soft, even light to minimize any remaining creases.
Is it okay to rely on editing instead of steaming?
Editing is best for minor touch-ups. Heavy retouching can flatten texture and reduce buyer trust. Aim to fix 80–90% of wrinkles with prep, then finish with light, natural edits.
A Simple Workflow You Can Repeat
- Prep: Hang, steam or iron gently, and shape on a hanger or mannequin.
- Style: Pin the back, align seams, and smooth hems.
- Light: Use a large, soft source; add a reflector.
- Shoot: Straight-on hero shot, then details; keep angles consistent.
- Edit: Clean background, correct color, reduce the most visible creases subtly.
- Publish: Choose the smoothest frame as your cover photo; keep the set cohesive.
Mastering how to unwrinkle clothes for online fashion listings is a mix of preparation, smart presentation, and gentle editing. The more you standardize your process, the faster you’ll list—and the more professional your storefront will look. If you prefer an app-based shortcut for background cleanup and fabric smoothing, consider tools like Clothing Studio, an AI-powered photo editor for fashion resellers and brands, which can help quickly refine wrinkles while keeping garments looking natural.
Pro tip: Keep garments on hangers between setups, not folded on the table. Most wrinkles start while you organize, not while you shoot. A little care between shots saves you minutes per listing—and those minutes add up.
Smooth fabric, clear photos, and consistent styling do more than beautify your grid—they build trust. And trust sells.
