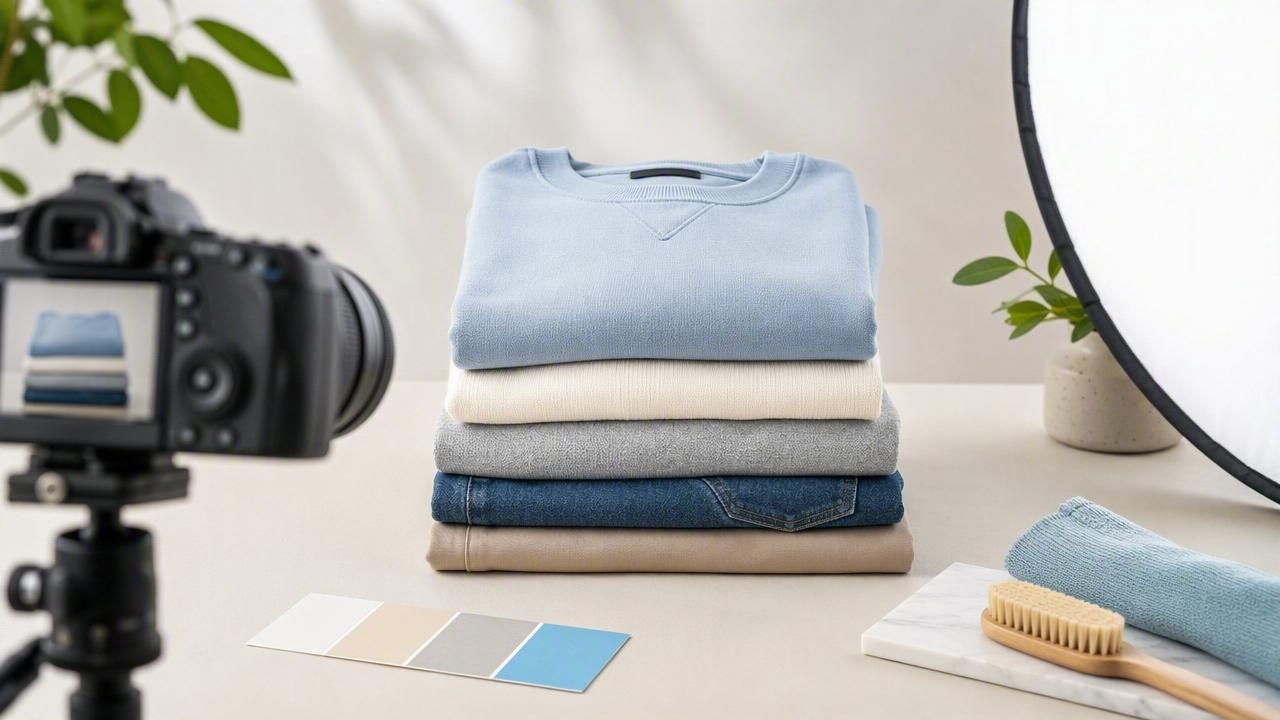
Folded clothing photos can make an e-commerce listing look tidy, consistent, and easy to shop. They are especially useful for T-shirts, sweaters, jeans, shorts, activewear, pajamas, and other garments that do not need a full body shape to communicate their value. For fashion resellers, folded photos also save space and time compared with setting up a mannequin or model shot for every item.
However, a folded garment can easily look like a pile of fabric rather than a product worth buying. Uneven folds, harsh shadows, distracting backgrounds, and hidden details can make shoppers uncertain about the item. The goal is not to create an unrealistic image. It is to create a clear, accurate presentation that helps buyers understand the garment’s color, condition, brand, material cues, and overall style.
This guide explains how to plan, style, photograph, and edit folded clothing photos for online listings while keeping the result honest and useful for buyers.
Why Folded Clothing Photos Work for Online Selling
A folded layout is a practical clothing presentation format because it gives the seller control over the composition. You can show a logo, neckline, print, pocket, waistband, or fabric texture without needing a model. It is also a helpful option when a garment is oversized, difficult to hang neatly, or unsuitable for a ghost mannequin image.
For buyers, a polished folded image offers a quick first impression. The main photo can communicate whether the item is casual, premium, sporty, minimalist, vintage-inspired, or seasonal. Additional images can then show the measurements, labels, flaws, and close-up fabric details that support a confident purchase decision.
Folded photos are most effective when they are part of a consistent listing system. If every item uses a similar background, crop, lighting style, and fold direction, your shop can feel easier to browse. Consistency also makes it simpler for shoppers to compare multiple items at a glance.
Choose the Right Garments for a Folded Layout
Not every product benefits from the same presentation style. Folded photography works best when the garment has recognizable visual details that remain visible after folding.
- Great candidates: graphic tees, sweatshirts, knitwear, jeans, leggings, shorts, scarves, sleepwear, activewear, and children’s clothing.
- Use extra images for: dresses, blazers, coats, structured tops, and fitted garments where shape is a major selling point.
- Consider another format: garments with standout tailoring, dramatic sleeves, an unusual silhouette, or a feature that cannot be understood when folded.
A folded hero image does not have to do all the work. For example, a vintage cardigan can be photographed folded for the cover image, then shown on a hanger in a second image to reveal its length and sleeve shape. This combination gives the listing both a clean storefront appearance and important fit context.
Prepare the Garment Before You Take Photos
The quality of folded clothing photos begins before the camera comes out. Small preparation steps prevent the most common issues: lint, twisted seams, uneven layers, and distracting creases.
- Inspect the garment. Check for stains, pilling, missing buttons, pulls, fading, and loose threads. Photograph and describe condition concerns separately rather than trying to hide them.
- Remove lint and hair. Use a lint roller, fabric brush, or clean microfiber cloth. Dark clothing and knitwear often need the most attention.
- Smooth the garment gently. Lay it flat and use clean hands to straighten major wrinkles. Steam or iron only if the care label and fabric allow it.
- Align seams and edges. Make sure side seams, hems, cuffs, and collars are not twisted underneath the fabric.
- Choose the front-facing feature. Decide whether the image should highlight a logo, graphic, neckline, button placket, pocket, or waistband.
Do not over-smooth the item to the point that it loses its natural material character. A linen shirt, ribbed knit, or relaxed cotton tee can still show subtle texture and realistic drape. The objective is a neat photo, not an inaccurate representation of the fabric.
Set Up a Simple Folded Clothing Photo Station
You do not need a large studio to create strong e-commerce photography. A small, repeatable setup can produce reliable results for dozens of listings.
| Setup Element | What to Use | Why It Helps |
|---|---|---|
| Surface | White foam board, neutral fabric, or a clean tabletop | Creates a distraction-free base for the garment |
| Light source | Indirect window light or soft lamps placed evenly | Reduces harsh shadows and uneven color |
| Camera position | Phone held parallel above the garment | Keeps edges straight and avoids distortion |
| Styling tools | Lint roller, clips, tissue paper, ruler, and microfiber cloth | Helps maintain neat folds and show scale |
| Background | Plain white, light gray, beige, or another consistent neutral | Supports a cohesive shop appearance |
Natural light can work well, but avoid direct midday sun. Strong sunlight can create deep shadows in folds and make colors look different from their real appearance. If you use artificial light, aim for even coverage from more than one direction. A single overhead lamp can make a folded garment look flat in some areas and overly shadowed in others.
How to Fold Clothing for a Better Product Photo
There is no universal fold for every item. The best fold is the one that keeps the product recognizable and highlights its strongest detail. Start with the garment flat, then make deliberate adjustments rather than folding quickly as you would for storage.
The Centered Front Fold
This is a dependable choice for T-shirts, sweatshirts, and tops with a chest graphic or logo. Fold the sleeves inward, keep the neckline visible, and position the graphic in the center of the frame. Leave enough of the garment visible that buyers can understand the color and overall design.
The Detail-First Fold
For garments with embroidered logos, special buttons, labels, or textured knits, arrange the fold around that feature. A small brand mark on the chest can become the visual focal point, while the rest of the garment creates a clean frame around it.
The Denim or Bottoms Fold
For jeans and trousers, fold the legs neatly while leaving the waistband, pockets, and closure visible. If the back pockets are a selling point, take a separate rear image rather than trying to show both sides in one crowded composition.
Practical rule: If a shopper cannot tell what type of garment they are viewing within a second or two, unfold more of the item or choose a different primary photo.
A Concrete Example: Photographing a Folded Graphic Sweatshirt
Imagine you are listing a charcoal gray crewneck sweatshirt with a small embroidered chest logo. Begin by removing lint, checking the collar, and smoothing the front. Lay the sweatshirt on a light neutral background, with the front side facing up.
Fold both sleeves diagonally behind the body so they do not cover the logo. Straighten the hem and lightly adjust the shoulders so the neckline appears symmetrical. Photograph from directly overhead, leaving a small border of background around all sides. Take a second image that is closer to the embroidery and a third image of the neck label and size tag.
Then add practical listing photos: the fabric composition tag, a measurement image showing pit-to-pit width and length, and any flaw close-ups. If there is light pilling near one cuff, include it. A clean main image attracts attention, while accurate supporting images help prevent disappointment after delivery.
Photo Editing for Folded Clothing Listings
Editing should improve clarity, not change the product. Start by cropping the photo consistently and straightening it if the garment edges look tilted. Adjust exposure carefully so the garment is visible without washing out white fabric or making black fabric appear gray. Correct obvious color casts caused by indoor light, but compare the edited image with the original garment before publishing.
Background cleanup can help when the surface has small marks, uneven tones, or unwanted objects near the edge of the frame. A clean background keeps attention on the clothing, but it should not remove relevant product information. Likewise, wrinkle retouching can reduce distracting presentation creases; it cannot reliably restore a garment’s original structure, prove its fit, or repair genuine damage such as worn fabric, snags, stains, or permanent creasing.
Keep close-ups available for texture-sensitive items. Buyers shopping for cashmere, linen, corduroy, ribbed knits, denim, or vintage fabrics often need more than a polished cover image to assess the item.
Common Mistakes to Avoid
- Folding too tightly: This can create deep creases and hide the garment’s shape.
- Using a cluttered background: Floors, beds, patterned rugs, and unrelated objects compete with the product.
- Hiding essential features: Do not cover a neckline, logo, button closure, or graphic that buyers need to see.
- Editing the color too far: Strong filters can lead to inaccurate expectations and returns.
- Showing only one image: A folded cover photo should be supported by labels, measurements, details, and condition images.
- Ignoring scale: Add measurements or a ruler photo when size and proportions are not obvious.
Build a Repeatable Folded Photo Workflow
Efficiency matters when you have multiple items to list. Group similar garments together, photograph them in the same lighting setup, and use a repeatable sequence: inspect, lint-roll, smooth, fold, photograph the front, photograph details, photograph tags, photograph measurements, and document flaws. This routine reduces missed photos and keeps listing quality consistent.
For sellers who want help refining garment presentation, Clothing Studio’s guide to removing clothing wrinkles in photos explains how wrinkle retouching can support cleaner listing images while still making it important to compare edits with the original item.
Ultimately, effective folded clothing photos are clear, consistent, and truthful. When shoppers can quickly see what the garment is, how it looks, and what condition it is in, your listing is easier to trust—and easier to buy.
