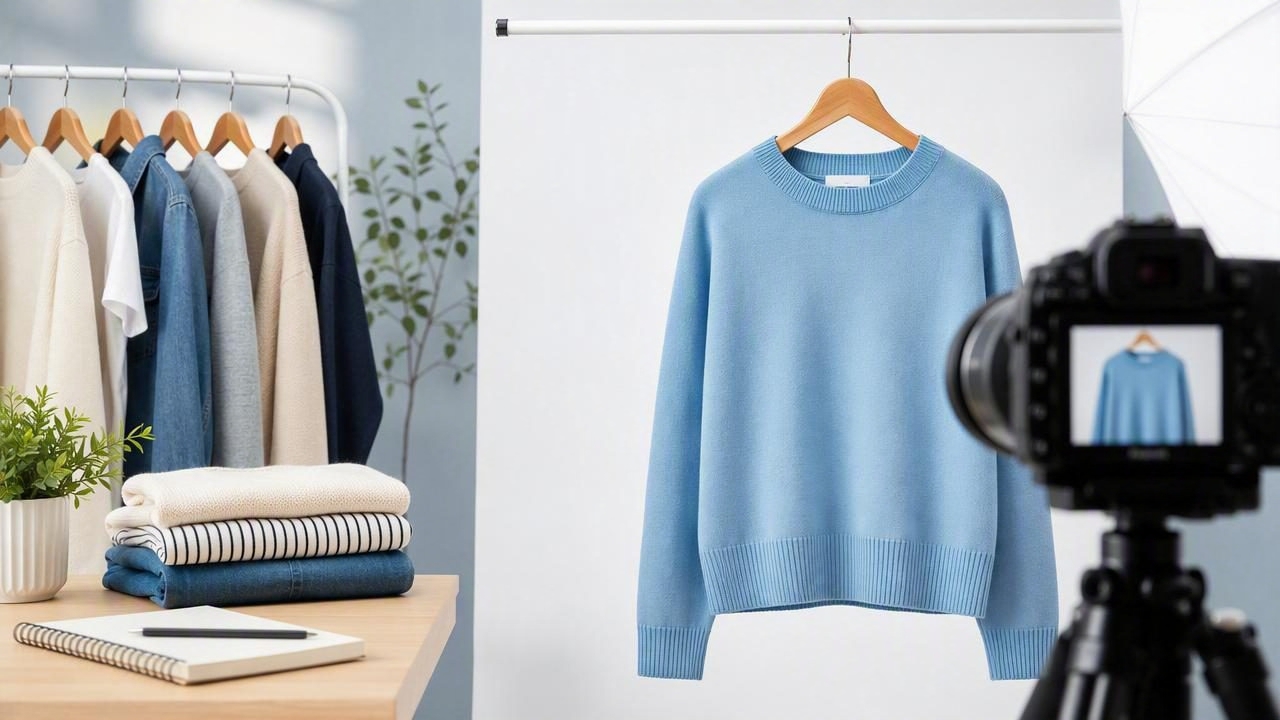
On-hanger photos are one of the most practical ways to photograph clothing for resale, consignment, and e-commerce listings. They are quick to set up, work well in small spaces, and help shoppers see the overall shape, color, neckline, sleeves, and length of a garment without needing a model or mannequin.
However, a hanger alone does not guarantee a strong listing photo. Crooked framing, distracting backgrounds, poor lighting, stretched shoulders, and visible wrinkles can make an otherwise desirable item look less appealing. The goal is not to make a garment appear different from what it is. Instead, good on-hanger photos should present the item clearly, consistently, and honestly so buyers can make an informed decision.
This guide explains how to improve on-hanger photos for clothing listings, which garments work best with this presentation style, and when another format may be more useful.
Why On-Hanger Photos Work for Clothing Listings
For many sellers, on-hanger photography is the most efficient middle ground between a flat lay and a full mannequin presentation. It gives clothing some natural drape while remaining easy to repeat across a large inventory.
On-hanger photos can be especially useful when you need to photograph:
- Tops, blouses, shirts, sweaters, and cardigans
- Jackets, blazers, coats, and outerwear
- Dresses, jumpsuits, and skirts
- Vintage garments that should be handled gently
- Items with distinctive sleeves, collars, or necklines
- Inventory that needs to be photographed quickly and consistently
A clean hanging image lets buyers understand the garment at a glance. It also helps create visual consistency across your storefront, which can make a resale closet or online catalog feel more organized and trustworthy.
Choose the Right Hanger for the Garment
The hanger affects the shape of the clothing more than many sellers expect. A poor hanger can stretch the shoulders of a knit, create unnatural bumps under a blouse, or make a structured jacket look uneven.
Use a hanger that supports the garment without competing with it visually. Slim neutral hangers are often a practical choice because they keep attention on the item. Wood hangers can work for heavier coats and blazers, while padded hangers may be better for delicate pieces with narrow shoulders or fragile fabrics.
| Garment type | Helpful hanger choice | What to avoid |
|---|---|---|
| T-shirt or lightweight top | Slim, smooth hanger | Wide shoulder edges that distort sleeves |
| Blazer or coat | Sturdy, wider hanger | Thin wire hangers that collapse the shoulders |
| Slip dress or camisole | Hanger with notches or clips | Straps slipping behind the garment |
| Sweater or knitwear | Supportive padded hanger, briefly used | Long-term hanging that may stretch the knit |
Before taking the photo, make sure the hanger is centered inside the garment. Check that sleeves, straps, lapels, collars, and hems are lying naturally. Small adjustments can substantially improve the final image.
Set Up a Simple, Distraction-Free Background
A background should support the product rather than distract from it. Plain white, soft gray, cream, or a consistent neutral wall can work well for on-hanger photos. What matters most is that the setting is uncluttered and used consistently across the listing.
Remove visual distractions such as wall art, door handles, light switches, laundry piles, retail tags that are not included with the item, and other garments in the frame. These details can make shoppers focus on the environment instead of the clothing.
If you photograph against a wall, leave enough distance between the garment and the wall where possible. This can reduce harsh shadows and create better separation around dark items. For a black coat, for example, a light neutral background makes the silhouette easier to see. For a white blouse, avoid a blown-out white background that causes the edges, texture, or details to disappear.
Use Soft, Even Lighting
Lighting is one of the biggest factors in whether clothing color and fabric details look reliable online. Harsh direct sunlight can create strong shadows beneath sleeves and hems. It can also make smooth fabrics look shiny or conceal details in dark areas.
Soft daylight near a window is often a useful option. Position the garment so light falls across the front rather than from directly behind it. If the window light is intense, a sheer curtain can help diffuse it. Indoor lighting can also work when it is bright and even, but mixed lighting may cause colors to look too warm, too cool, or inconsistent from image to image.
Take a test photo and compare it with the actual garment before listing. If a navy shirt appears black, or a rust-colored dress appears bright red, adjust the lighting and camera settings rather than relying on a heavily edited final image. Accurate color supports fewer misunderstandings and better buyer expectations.
Prepare the Garment Before You Photograph It
Buyers often notice small details in listing photos. A quick preparation step helps the item look cared for while keeping the presentation truthful.
- Check for lint, pet hair, loose threads, and dust.
- Button buttons, zip zippers, and fasten belts as appropriate.
- Straighten collars, lapels, cuffs, and pockets.
- Arrange sleeves so both sides are visible and balanced.
- Smooth temporary folds or shipping creases when possible.
- Inspect the item for flaws that should be photographed separately.
Wrinkles are common in secondhand and stored clothing, but they can make on-hanger photos look rushed. Gentle steaming or careful smoothing may help when it is safe for the fabric. Do not use heat or moisture methods that could damage delicate textiles, vintage materials, leather, suede, or garments with special care instructions.
It is also important to distinguish between removable presentation wrinkles and garment condition. A wrinkle can be reduced for a cleaner photo, but pilling, snags, discoloration, holes, fabric wear, and missing embellishments should not be hidden. Photograph those details clearly and describe them in the listing.
Frame the Garment Consistently
Consistency makes it easier for shoppers to browse your inventory. For the main image, place the garment in the center of the frame and leave a small, even amount of space around the edges. Include the full item whenever possible, from the top of the hanger to the hem.
Keep your camera level and parallel to the garment. Shooting from above can make the shoulders look oversized and the hem look narrow. Shooting from below can exaggerate length and distort proportions. A straight-on angle offers the clearest representation for most apparel listings.
For longer garments, step back instead of tilting the camera. You can crop the image afterward while preserving the garment’s overall shape. For garments with details worth showing, use additional images rather than crowding the main photo with close-up framing.
A Practical Photo Sequence for a Dress
Imagine you are listing a navy wrap dress on a hanger. A helpful set of photos might include:
- A full front view on a clean hanger against a neutral background
- A full back view showing the silhouette and closure
- A close-up of the neckline and wrap detail
- A close-up of the fabric pattern and care label
- A photo of the waist tie or belt
- A clear close-up of any disclosed mark, pulled thread, or wear
This approach gives a buyer both the broad overview and the specific information needed to evaluate the piece. The hanger image establishes the product, while detail photos support an accurate description.
When On-Hanger Photos Are Not the Best Choice
On-hanger photos are versatile, but they are not ideal for every item. Some garments lose their intended shape when hung. Heavy knitwear may stretch at the shoulders, pants can look narrow or awkward, and structured clothing may not show fit details clearly without additional support.
Consider a flat lay for jeans, trousers, shorts, folded knitwear, scarves, or items with important measurements and surface details. A mannequin-style presentation may better communicate the body shape of fitted dresses, tailored jackets, or garments with complex construction. For bulky items, such as puffer jackets, use enough support to show the form without forcing the garment into an unrealistic shape.
Presentation should clarify the garment, not overstate it. A photo can improve cleanliness and consistency, but it should not imply an exact fit, repair hidden defects, or guarantee that fabric texture will appear exactly the same on every screen.
Edit On-Hanger Photos With Accuracy in Mind
Basic editing can help make on-hanger photos more consistent. Useful adjustments may include straightening the frame, cropping excess space, correcting an obvious lighting imbalance, and removing a distracting background. The edited image should still match the original garment in color, texture, construction, and visible condition.
When using AI photo editing for fashion reselling, compare the result closely with the original image. Check edges around sleeves, straps, buttons, ruffles, lace, and hems. These areas can require extra review because they are detailed and can be visually complex. If an edit makes a feature unclear or changes the garment’s appearance, use the original or retake the photo.
For sellers who want help refining clothing presentation, Clothing Studio’s guide to ghost mannequin photos explains when a more structured product presentation may be useful alongside straightforward hanger images.
Final Checklist for Better On-Hanger Photos
- Use a hanger that supports the garment naturally.
- Photograph against a simple, consistent background.
- Use soft, even light and verify color accuracy.
- Remove lint and arrange collars, sleeves, and hems.
- Keep the camera level and include the full garment.
- Add front, back, detail, label, and flaw photos.
- Choose flat lays or mannequin-style images when hanging distorts the item.
- Review edits against the original before publishing.
Strong on-hanger photos do not require an elaborate studio. With careful preparation, consistent lighting, honest detail images, and thoughtful framing, they can make clothing listings easier to browse and easier for buyers to understand.
