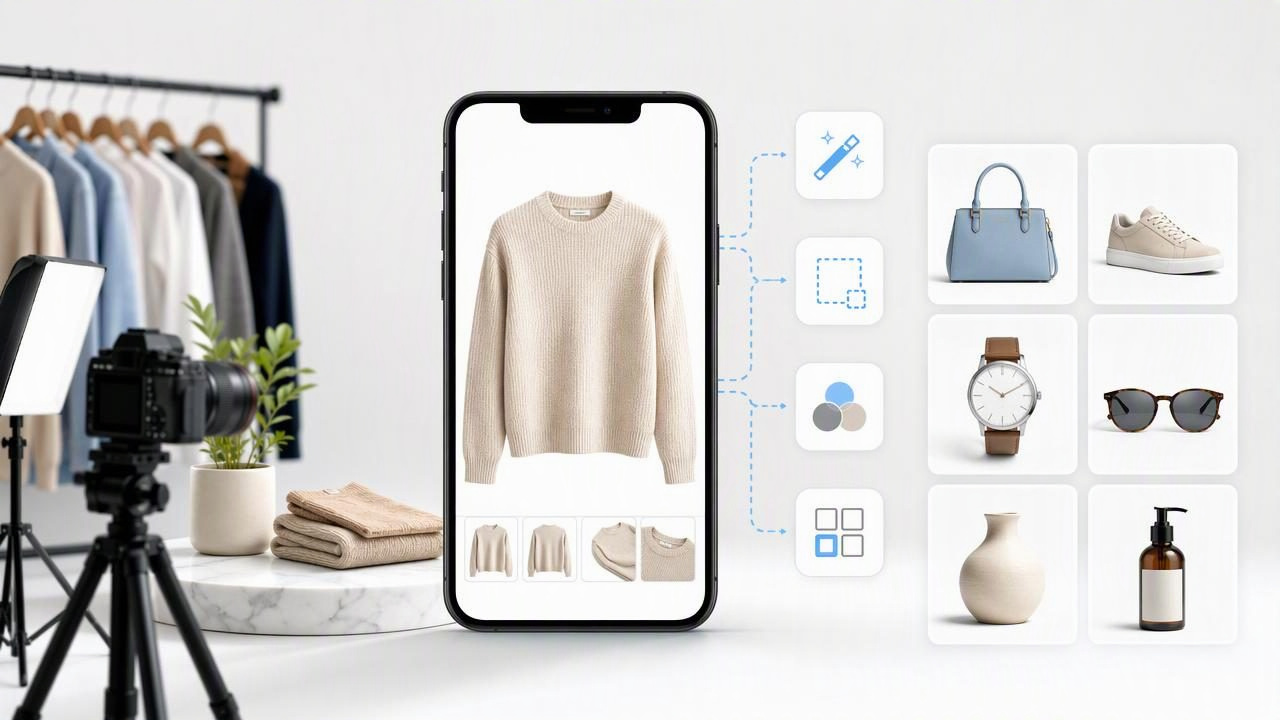
An app for professional product photos can help fashion resellers and small brands create cleaner, more consistent listing images without building a full studio. But not every photo editor is suited to apparel. Clothing has texture, shape, seams, folds, labels, and fit details that need careful presentation. A generic filter may make an image look brighter, yet still leave the garment looking untidy or unclear to a potential buyer.
The right app should support the way shoppers evaluate clothing online: they want to see the item’s color, silhouette, condition, and key details quickly. Whether you photograph shirts on hangers, jeans laid flat, dresses on mannequins, or knitwear folded on a table, your editing process should improve clarity without changing what the buyer is actually purchasing.
This guide explains which features matter most, how to compare your options, and how to use a professional product photo app responsibly for e-commerce clothing listings.
Why professional-looking clothing photos matter
In an online listing, photos do much of the work that an in-store fitting room or sales associate would normally do. Buyers cannot touch the fabric, inspect a zipper, or see how the garment hangs in person. Images need to answer practical questions before a shopper has to ask them.
- What is the garment’s overall shape?
- What color is it under neutral lighting?
- Is the item clean and well presented?
- Can the buyer identify the neckline, sleeves, pockets, print, and closures?
- Are there visible signs of wear, pilling, stains, or damage?
Professional product photography does not mean making every garment look artificially perfect. It means removing distractions, using a repeatable presentation style, and showing the item accurately. A tidy image can make the listing easier to scan, while honest close-ups of any flaws can help set appropriate expectations.
What to look for in an app for professional product photos
The best option depends on your inventory volume and selling style, but apparel sellers should prioritize tools that solve clothing-specific problems. A useful app should make a straightforward photo more polished, not require hours of detailed retouching for every item.
1. Reliable background removal
A clean background keeps attention on the garment and helps your store or marketplace listings look consistent. Background removal is particularly useful if you shoot near a window, in a spare room, or against a backdrop that is not perfectly smooth.
When reviewing a background removal tool, look at how it handles difficult edges such as:
- Fringe, lace, sheer sleeves, and ruffles
- Dark garments photographed against dark surfaces
- White shirts photographed against pale walls
- Straps, drawstrings, belts, and garment hems
- Open spaces around hanger hooks or cutout details
Always inspect the edited edge at a larger size. If part of a sleeve disappears or a collar looks jagged, use the original photograph or choose another image. A clean background is valuable only when it does not make the product look incomplete.
2. Clothing wrinkle retouching with realistic limits
Light wrinkles can distract from an otherwise strong listing photo, especially on garments that have been stored, shipped, or photographed flat. Wrinkle editing can improve presentation by reducing minor creases and making the fabric appear more orderly.
However, wrinkle tools should not be treated as a way to alter an item’s condition. Deep creases, stretched fabric, permanent wear, fading, snags, or damaged material may remain visible. Editing also cannot reliably restore hidden texture or prove how a garment will fit on a person. Compare the result with the original image and keep details such as knit texture, seams, logos, and printed graphics recognizable.
Good standard: Improve temporary presentation issues, but do not edit away condition information a buyer would reasonably expect to see.
3. Support for multiple clothing layouts
A single image style is not always appropriate for every garment. An app for professional product photos should work with the presentation formats you already use rather than forcing all inventory into one look.
| Presentation style | Works well for | What buyers can assess |
|---|---|---|
| Flat lay | T-shirts, trousers, kidswear, accessories | Color, print, overall dimensions, details |
| On hanger | Blouses, jackets, dresses, shirts | Length, drape, neckline, sleeve shape |
| Folded | Knitwear, denim, sweatshirts | Fabric texture, branding, front-panel detail |
| Ghost mannequin | Structured tops, dresses, activewear | Garment silhouette and interior neckline |
Using more than one view is often the clearest approach. For example, a blazer listing might include a front hanger photo, a back photo, a close-up of the label and buttons, and an interior shot. The presentation image should complement—not replace—accurate detail photos.
4. Consistent output for marketplace listings
Consistency helps shoppers browse faster. If every listing has a different background color, crop, brightness level, and camera angle, a storefront can appear less organized even when the inventory is strong. Look for an app that lets you repeat a simple editing approach across multiple photos.
A practical consistency checklist includes:
- Use a similar background for main listing images.
- Keep the garment centered with enough space around the edges.
- Use the same orientation for comparable items.
- Avoid overly strong color adjustments.
- Include both full-garment images and truthful close-ups.
Consistency does not mean every image must look identical. A long dress needs more vertical space than a folded sweater. The goal is to make each item easy to understand while maintaining a recognizable visual standard.
A concrete example: improving a pre-owned linen shirt listing
Imagine you are listing a pre-owned blue linen button-down shirt. Your original photo was taken on a hanger near a window. The lighting is decent, but the wall behind the shirt is beige, the hem is slightly uneven, and there are light storage wrinkles across the front.
A responsible editing workflow could look like this:
- Start with the strongest original image. Make sure the shirt is fully visible and naturally arranged on the hanger.
- Remove the distracting wall background. Use a plain neutral background that keeps the blue fabric easy to see.
- Reduce minor wrinkles carefully. Check that the linen weave, button placket, chest pocket, and seam lines still look natural.
- Keep the color believable. Compare the edited image to the original in the same lighting. Do not push saturation until the shirt looks unlike the real item.
- Add supporting photos. Include the collar, cuffs, size label, fabric tag, and any flaw such as a small mark or worn button.
The result may look more polished, but it should still show that it is a linen shirt with the natural texture and slight variation associated with linen. Editing should not make it appear like a different fabric, a new item, or a perfectly pressed shirt if that is not an accurate representation.
When ghost mannequin images are useful
Ghost mannequin photography can create a clean, dimensional apparel view by removing the mannequin or model while retaining the garment’s shape. It is especially helpful for items where a flat lay does not clearly communicate structure, such as fitted dresses, blazers, collared shirts, and sportswear.
Still, a ghost mannequin image is a presentation format, not a fit guarantee. It cannot show exactly how the garment will fit every body type, and it should not conceal material defects, missing components, or shape problems. If the original item has visible issues, photograph and disclose them separately.
For best results, start with a garment that is neatly positioned and photographed with even light. Ensure the collar, shoulders, sleeves, and hem are visible before editing. Strong input photography gives any editing tool a better foundation.
Questions to ask before choosing a photo app
Before subscribing to or relying on any editing app, assess how it fits your actual listing workflow. These questions can help you avoid paying for features you will not use.
- Does it support the clothing presentation styles I use most?
- Can I review the result before I publish an image?
- Does the output preserve important details such as labels, prints, seams, and edges?
- Will it help me create a consistent look across my listings?
- Can I still include original or close-up photos where condition needs clarification?
- Does the workflow save time compared with my current process?
The most useful solution is not necessarily the one with the longest feature list. It is the one that improves recurring tasks—such as background cleanup, clothing presentation, and minor wrinkle reduction—while leaving you in control of accuracy.
Use editing to clarify, not mislead
Professional e-commerce photography builds trust when it makes products easier to evaluate. Keep original photos available while you edit, and compare them side by side before publishing. If an edit changes a logo, texture, color, damage mark, or garment shape, choose a different result or use the original image instead.
For sellers who need clothing-focused tools on iPhone, Clothing Studio’s guide to ghost mannequin photos explains how this presentation style can be used for apparel listings; its full editing features are available through a subscription. Whatever tool you choose, clear photos, accurate descriptions, and honest condition details remain the foundation of strong product listings.
