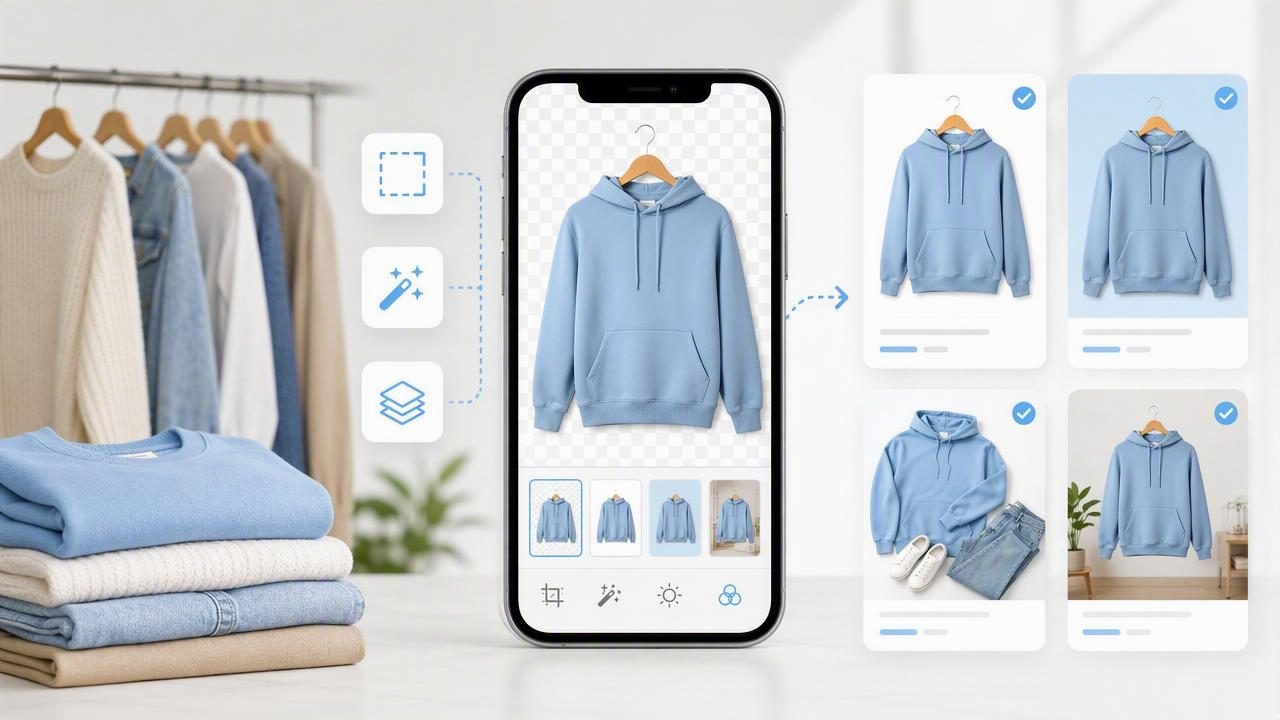
For fashion resellers, boutique owners, and growing apparel brands, product photos are often the first opportunity to earn a buyer’s attention. Shoppers cannot touch the fabric, inspect the fit, or see the garment in person, so your images must do much of the selling. A reliable product photo app can help turn everyday phone photos into clean, consistent listing images without requiring a professional studio setup.
However, not every photo editor is designed for clothing. General editing apps may offer filters, cropping, and color adjustments, but apparel sellers often need more practical tools: background removal, wrinkle reduction, image resizing, ghost mannequin effects, and polished model-style presentations. The right app should make your workflow faster while helping every product look accurate and appealing.
This guide explains what to look for in a product photo app for clothing, how to compare important features, and how to build a repeatable photo workflow for e-commerce listings.
Why Clothing Listings Need a Specialized Product Photo App
Clothing is one of the more challenging product categories to photograph. Fabric can wrinkle, dark garments can lose detail, white garments can blend into light backgrounds, and fit can be difficult to communicate when an item is folded or laid flat. Even a high-quality garment can look less valuable when photographed in poor lighting or against a distracting background.
A clothing-focused product photo app helps solve these presentation problems. Rather than spending time learning complex desktop software, sellers can take photos with an iPhone and make common improvements in a few taps. This is especially useful for sellers who list a high volume of pre-owned, vintage, handmade, or boutique inventory.
The goal is not to make a garment look misleading. Instead, it is to create images that are clear, consistent, and buyer-friendly. Good editing should preserve the true color, shape, texture, and condition of the item while removing visual distractions.
Essential Features to Look For
When comparing product photography apps, focus on tools that directly improve the quality and speed of apparel listings. The most useful features are not always the flashiest ones. They are the features you will use repeatedly for nearly every item you photograph.
1. Automatic Background Removal
Background removal is one of the highest-value tools for e-commerce photography. It separates the garment from its original surroundings and lets you replace a busy bedroom, thrift store wall, carpet, or clothing rack with a clean background.
For many marketplaces, a simple white or light neutral background helps shoppers focus on the item. It can also create a more cohesive storefront when customers browse multiple listings from the same seller.
Look for an app that handles difficult clothing edges well, including:
- Thin straps and spaghetti straps
- Lace, sheer details, and fringe
- Fur trims and textured knitwear
- Dark garments against dark surroundings
- White garments against light backgrounds
Check edited images closely around sleeves, collars, hems, and buttons. Poor cutouts can make a garment look jagged or artificial, while a clean cutout supports a professional presentation.
2. Wrinkle Reduction for Product Photos
Wrinkles are common in resale inventory, especially when clothing has been stored, shipped, folded, or sourced secondhand. Ideally, you should steam or lint-roll an item before photographing it. But this is not always possible when you are processing dozens of listings at once.
An AI-powered wrinkle reduction feature can improve the visual appearance of fabric in a listing image. It is particularly useful for flat lays, on-hanger images, and simple garment shots. The best results still look natural: the clothing should retain realistic seams, drape, ribbing, and texture.
Important: Photo editing should improve presentation, not hide flaws. If a garment has permanent creasing, pilling, stains, tears, fading, or damage, disclose those details clearly in the listing and include close-up photos.
3. Ghost Mannequin and Clothing Shape Tools
Flat lays are easy to create, but they do not always communicate shape well. A ghost mannequin effect gives apparel a more dimensional, worn-in appearance without showing a visible person or mannequin. This style can help shoppers better understand the cut of a jacket, blouse, dress, or sweater.
Ghost mannequin images are especially effective when you want a clean, brand-like storefront aesthetic. They can make a garment look structured while keeping attention on the product rather than on a model, room, or display form.
Before choosing an app, review examples of its ghost mannequin output. The neckline, shoulders, armholes, and interior areas should look believable. An unnatural result can confuse shoppers and reduce the benefit of the edit.
4. Accurate Color and Lighting Adjustments
Color accuracy matters in fashion e-commerce. A buyer who receives a navy shirt that looked black in the listing—or a muted burgundy dress that appeared bright red—may be disappointed even if the item is otherwise as described.
A useful product photo app should offer simple controls for brightness, shadows, contrast, warmth, and color correction. These tools should help you match the real item rather than apply dramatic filters. Avoid over-editing: strong saturation, excessive sharpening, and heavy smoothing can make fabric look unnatural.
5. Resizing and Marketplace-Ready Cropping
Each marketplace has its own image preferences, but nearly all reward clear, well-framed product images. Your app should make it easy to crop photos into consistent dimensions, such as square images for catalog-style browsing or vertical images that show the full garment.
Choose a framing style and use it consistently. For example, you may place every garment in the center of the frame with a similar amount of empty space around it. This makes your shop look organized and helps buyers compare listings quickly.
Feature Comparison Checklist
| Feature | Why It Matters for Clothing | What to Check |
|---|---|---|
| Background removal | Creates a distraction-free listing image | Clean edges around straps, lace, and sleeves |
| Wrinkle reduction | Improves fabric presentation quickly | Natural texture without blurry details |
| Ghost mannequin | Shows shape without a visible model | Realistic necklines, shoulders, and interiors |
| Color correction | Helps buyers see the true garment color | Simple controls and realistic output |
| Batch workflow | Saves time on high-volume inventory | Fast processing and consistent settings |
| Export options | Prepares images for listing platforms | High-resolution files without watermarks |
How to Test a Product Photo App Before Committing
Most photo apps look impressive in promotional examples, but the best test is how they perform with your own inventory. Use a free demo, trial, or limited free version to edit several different garments before paying for a subscription.
Choose a small test group that includes a variety of challenges:
- A black garment with subtle texture
- A white or cream garment with a light background
- A patterned dress or floral blouse
- A sweater with knit texture or ribbing
- An item with straps, lace, or unusual edges
- A wrinkled item photographed on a hanger or flat surface
Then evaluate the output with a buyer’s perspective. Does the garment still look like the real item? Is the background clean? Are the edges smooth? Does the color look accurate? Can you complete the edit quickly enough to use the app for every listing?
Speed matters. A tool that produces beautiful results but takes ten minutes per item may not fit a reseller listing 30 items in one afternoon. On the other hand, an app that is fast but produces inconsistent cutouts may create more work later. The ideal option balances quality, control, and efficiency.
A Simple E-Commerce Photography Workflow
A product photo app works best when you begin with a solid original photo. Editing can improve a good image, but it cannot fully repair an image that is extremely dark, out of focus, or heavily obstructed.
Use this repeatable workflow for clothing listings:
- Inspect and prepare the item. Check for stains, damage, loose threads, missing buttons, and sizing labels. Steam or lint-roll when practical.
- Photograph in even lighting. Natural indirect window light works well. Avoid harsh overhead lighting and strong shadows.
- Capture multiple angles. Take a front view, back view, detail shots, fabric close-ups, tag photos, and any flaw photos.
- Choose the strongest cover image. The first image should show the full item clearly and fill most of the frame.
- Edit consistently. Remove distractions, correct lighting, reduce minor wrinkles, and use the same background style across listings.
- Review before publishing. Zoom in on edges, check color accuracy, and confirm that the edit has not changed important item details.
Common Product Photo Editing Mistakes to Avoid
Even with a capable product photo app, some editing choices can hurt trust or reduce listing quality. Avoid these common mistakes:
- Over-smoothing fabric: Knitwear, denim, linen, and textured materials should still look like real fabric.
- Using inconsistent backgrounds: Switching between harsh colors, cluttered rooms, and white cutouts can make a storefront feel unorganized.
- Hiding condition issues: Always show and describe flaws honestly rather than editing them away.
- Over-cropping: Buyers need to see the overall garment shape, not just a close-up of the chest or neckline.
- Relying on one image: Include enough views for buyers to assess style, condition, and details with confidence.
- Using inaccurate colors: Editing should make colors more truthful, not more dramatic.
Choosing the Right App for Your Selling Style
Your ideal app depends on the type and volume of clothing you sell. A casual seller may prioritize easy background removal and quick exports. A high-volume reseller may need batch-friendly editing, fast wrinkle reduction, and a consistent image template. A boutique brand may place more value on polished ghost mannequin imagery and refined visual consistency.
Think about the bottleneck in your current workflow. If you spend too much time clearing clutter from photos, prioritize background removal. If garments look flat and shapeless, explore ghost mannequin tools. If you photograph plenty of inventory but struggle to publish it quickly, look for a simple mobile workflow that lets you edit and export without moving files between devices.
The right product photo app should support your process rather than force you to change it. It should help you create images that look professional, represent items honestly, and make listing inventory feel more manageable. For sellers who want clothing-specific AI editing tools for tasks such as wrinkle reduction, ghost mannequin images, and clean backgrounds, Clothing Studio is one option to explore.