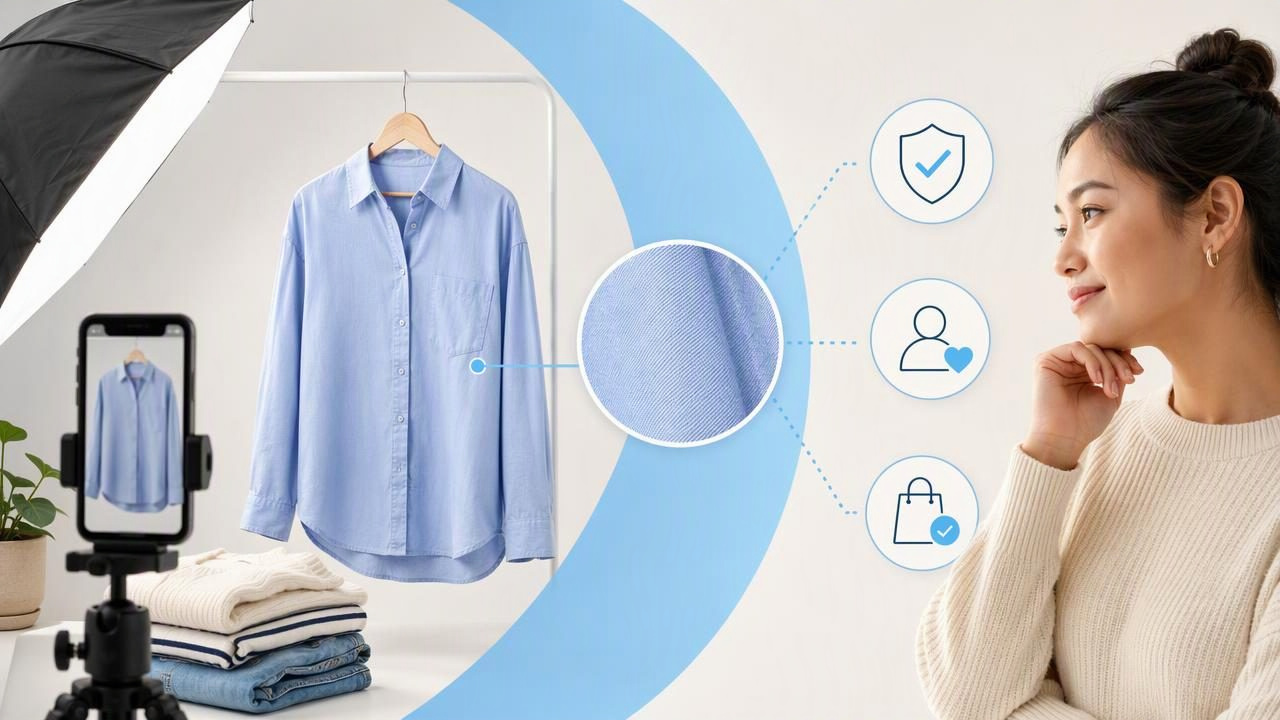
For fashion resellers and small clothing brands, product photos do more than show an item for sale. They help shoppers answer the questions they would normally ask while holding a garment in a store: What is the true color? How does the fabric sit? Is the item structured, soft, fitted, oversized, or worn? Are there visible signs of wear?
Clear clothing photography cannot eliminate every buyer question, but it can make an online listing easier to understand. When photos are consistent, well-lit, and honest, buyers can compare items faster and feel more confident about what they are considering. That matters on resale marketplaces, brand stores, social commerce pages, and anywhere shoppers rely on images before making a purchase.
This guide explains how to plan product photos that present garments professionally without making misleading claims about fit, condition, texture, or color.
Why Product Photos Matter for Clothing Listings
Clothing is difficult to sell from a single image because its value is visual and tactile. Buyers want to see fabric texture, seams, labels, shape, drape, and details such as buttons, pockets, embroidery, or hardware. A clean cover photo may get attention, but supporting images help the shopper decide whether the garment matches their expectations.
Strong product photos also create consistency across your storefront. If every listing uses a similar background, lighting style, crop, and image order, shoppers can browse more efficiently. That visual consistency can make even a mixed inventory of vintage, resale, boutique, and new-with-tags garments feel more organized.
However, polished does not have to mean over-edited. Editing should clarify the garment rather than alter it. For example, removing a distracting background can focus attention on a blazer, while aggressively smoothing fabric can hide its natural texture or make wear harder to evaluate.
Start With a Photo Plan, Not Random Images
Before photographing an item, decide which views a buyer needs. The exact set depends on the garment, but most clothing listings benefit from a repeatable shot list. A repeatable process saves time and reduces the chance that important information is missing.
A practical clothing photo checklist
- Front view: Show the full garment and its overall shape.
- Back view: Include closures, design details, and length.
- Brand and size label: Capture readable information when available.
- Fabric or care tag: Helpful for material-conscious shoppers.
- Close-up details: Photograph prints, texture, embroidery, hardware, pockets, or unique construction.
- Condition images: Clearly show stains, pulls, pilling, fading, repairs, or other flaws.
- Measurements: Add a photo of measured dimensions when useful for the platform and garment type.
Not every item needs every possible angle. A plain cotton T-shirt may need fewer images than a tailored coat with lining, buttons, shoulder structure, and an adjustable belt. The goal is not to create more photos for their own sake. It is to provide enough evidence for a buyer to understand the item.
Choose the Right Clothing Presentation Style
The way you arrange a garment affects what buyers notice first. Different presentation styles serve different purposes, and using the same approach for every item is not always the best choice.
| Presentation style | Best for | What it helps show | Watch for |
|---|---|---|---|
| Flat lay | T-shirts, knitwear, children’s clothing, casual pieces | Prints, dimensions, color, fabric surface | Keep sleeves, hems, and collars naturally aligned |
| On-hanger | Dresses, blouses, jackets, lightweight garments | Length, neckline, sleeves, overall silhouette | Use a hanger that does not distort shoulders |
| Ghost mannequin | Structured tops, dresses, jackets, activewear | Garment shape and interior neckline area | It should not imply an exact body fit or hidden construction |
| Folded layout | Sweaters, denim, packaged basics, accessories | Texture, branding, compact presentation | Include additional unfolded views when shape matters |
A ghost mannequin presentation can make a garment look clean and dimensional while keeping the attention on the clothing rather than a model. It is especially useful when you want to show collar shape, sleeve placement, or a jacket’s structure. Still, it is a presentation method, not a fit guarantee. A ghost mannequin image cannot tell a buyer precisely how the garment will fit their body.
Prepare the Garment Before Taking Product Photos
A few minutes of preparation can improve photo quality more than a complicated editing process. Begin by checking the garment under bright, neutral light. Remove lint, straighten tags, fasten buttons or zippers, and arrange the item to match how it should be worn or displayed.
Light wrinkles are common in shipped, stored, or pre-owned clothing. If appropriate for the fabric, carefully steam or smooth the garment before photographing it. Avoid pulling material so tightly that the shape changes. Natural folds and texture are part of the item; the goal is to reduce distractions, not to make every fabric look artificially flat.
For delicate fabrics, vintage pieces, or garments with obvious wear, photograph gently and prioritize accuracy. Do not use styling or retouching to conceal damage. A close-up of a flaw may not be the most visually appealing image, but it is often one of the most important for buyer trust.
Use Light That Shows True Color and Texture
Lighting has a major effect on product photos. Uneven lighting can make a navy blouse appear nearly black, turn cream fabric yellow, or hide the texture of a ribbed sweater. Harsh overhead light may create deep shadows below sleeves and hems, while mixed indoor lighting can cause confusing color casts.
For many sellers, soft daylight near a window is a practical starting point. Place the garment where indirect light reaches it, rather than in direct sun. If you use artificial lighting, aim for a consistent setup from listing to listing. A simple, repeatable arrangement is generally more useful than changing locations for every garment.
Before publishing, compare the images with the actual item. Ask whether the photo is making the garment look brighter, darker, warmer, cooler, smoother, or more saturated than it appears in person. If the color is difficult to capture, mention that lighting and screens can affect appearance, but do not rely on that note instead of taking the clearest possible image.
Edit for Clarity Without Changing the Item
Photo editing can help create clean, marketplace-ready product photos. Useful adjustments may include cropping, straightening, balancing exposure, correcting a distracting background, or removing minor visual clutter around the garment. The editing standard should be simple: the finished image should still accurately represent the item a buyer receives.
Be cautious with edits that affect the garment itself. Heavy color correction can change the shade of fabric. Strong sharpening can exaggerate texture. Automated wrinkle reduction can make a garment look neater, but it should not erase meaningful signs of wear, alter seams, or create an unrealistic surface.
A good product photo makes the item easier to inspect. It does not make the item appear different from what it is.
Background removal is helpful when the original setting is busy or inconsistent. A neutral background can make a listing grid look more cohesive and reduce distractions from floors, walls, laundry racks, or other inventory. Check the final edges carefully, especially around straps, lace, sheer areas, fur trims, fringes, and textured knitwear. Automated cutouts can occasionally soften, miss, or distort fine details.
Concrete Example: Photographing a Pre-Owned Linen Blazer
Imagine you are listing a beige pre-owned linen blazer. Linen naturally wrinkles, so trying to make it appear perfectly smooth would be misleading. Start by gently steaming it enough to remove storage creases while preserving its expected texture. Hang it on a suitable hanger or use a ghost mannequin-style presentation to show the lapels and structure.
Your first image could be a straight-on front view against a plain, light background. Add a back view, a close-up of the lapel and linen weave, photos of the brand and care labels, and detailed images of the buttons and lining. If there is light wear near the cuff or a small mark inside the lining, include a focused photo and describe it in the listing.
After taking the images, crop consistently and adjust brightness only enough to match the actual beige tone. If you remove the background, inspect the edges of the lapels and sleeves. Do not edit away the natural linen texture, cuff wear, or any visible condition issue. The final listing will look orderly while still giving buyers a realistic view of the blazer.
Create a Consistent Image Order
Image order helps shoppers navigate a listing. Use your strongest full-garment image first, then move from broad views to specific details. This sequence works well for many clothing listings:
- Clean full front image
- Full back image
- Alternative angle or presentation view
- Close-up of fabric and key design details
- Brand, size, and care labels
- Measurements, if included
- Condition or flaw photos
Keep condition images in the set even when the flaw is minor. Hiding them at the end does not remove the responsibility to disclose them. A shopper who sees accurate condition details can make a more informed decision.
Common Product Photo Mistakes to Avoid
- Using only one full-length image with no labels or close-ups.
- Photographing dark garments in low light where details disappear.
- Using filters that shift the garment’s actual color.
- Editing out visible flaws, fabric wear, or discoloration.
- Showing a folded item only when buyers need to see its full shape.
- Using a presentation image that implies a precise fit without measurements or clear context.
- Leaving cluttered backgrounds, distracting shadows, or unrelated items in frame.
Make Photo Quality Part of an Honest Listing
Product photos work best alongside accurate titles, descriptions, measurements, and condition notes. Images can show a garment’s visual details, but they cannot communicate everything. Include fabric composition, tagged size, measurements, fit notes when known, and condition information in writing. Avoid guessing about fit, stretch, or fabric feel if you cannot verify it.
For sellers who want help preparing clothing images, Clothing Studio’s guide to ghost mannequin photos explains how this presentation style can be used for clearer garment-focused images; the app’s full features require a subscription.
Ultimately, the best product photos are not the most heavily edited ones. They are the images that help a shopper see the garment clearly, understand its condition, and decide whether it is right for them. A consistent, honest photography process can support buyer confidence one listing at a time.
