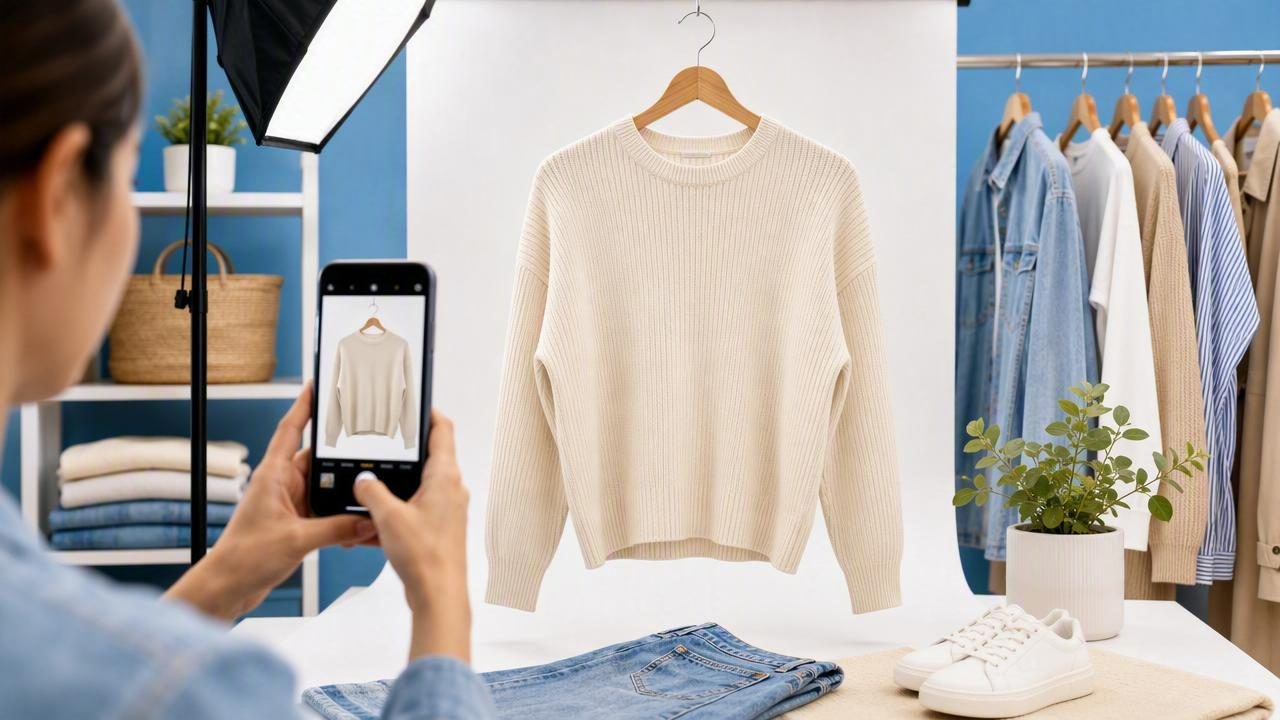
Great fashion photos do more than make a clothing listing look attractive. They answer the questions a shopper has before buying: What does the item really look like? What is the color? How does the fabric fall? Is there wear, damage, or a detail I should know about?
For fashion resellers, brands, and online boutiques, product images often do the work of an in-store fitting room. Buyers cannot touch the material, inspect the seams, or see how a garment holds its shape. Clear, consistent photos reduce uncertainty, create a more professional storefront, and can help shoppers feel more comfortable clicking “buy.”
This guide explains how to plan, shoot, and edit fashion photos that put the buyer first. Whether you sell on marketplaces, social platforms, or your own e-commerce site, the goal is the same: show each garment honestly, clearly, and consistently.
Why Fashion Photos Matter So Much Online
Online clothing shoppers make quick decisions. Before they read a detailed description, they usually scan the first photo. If the item is poorly lit, cluttered, heavily wrinkled, or difficult to see, they may scroll past even when the garment itself is valuable.
High-quality fashion photos can support your listings in several practical ways:
- They improve first impressions. Clean images make a shop appear more organized and reliable.
- They clarify what buyers receive. Multiple views, close-ups, and accurate colors help set expectations.
- They make comparison easier. Consistent framing lets shoppers compare similar products quickly.
- They may reduce questions. Buyers are less likely to ask about tags, flaws, fabric texture, or measurements when those details are visible.
- They can reduce return risk. Honest photos help prevent disappointment caused by surprises after delivery.
Professional-looking does not mean overly polished or misleading. The best e-commerce photography makes clothing look its best while staying true to the actual item.
Start With a Simple Photo Plan
A repeatable process is more valuable than an elaborate setup. When you photograph dozens of pieces every week, consistency saves time and makes your inventory easier to manage. Before shooting, decide which images every listing needs.
A reliable fashion photo checklist
- Front view
- Back view
- Side or angled view, when useful
- Close-up of fabric texture or print
- Brand, size, and care tags
- Close-up of notable details, such as buttons, embroidery, or pockets
- Clear photos of any flaws, stains, pulls, or signs of wear
- A styled, modeled, ghost mannequin, folded, or on-hanger image when appropriate
This list does not need to be identical for every garment. A basic T-shirt may only need a few images, while a vintage jacket with unique hardware deserves more detail. The key is to document what would matter to a potential buyer.
Choose the Right Clothing Presentation Style
There is no single best way to photograph apparel. The right presentation depends on the garment, your available time, the selling platform, and the story you want your listing to tell.
| Presentation Style | Best For | Buyer Benefit |
|---|---|---|
| Flat lay | T-shirts, sweaters, activewear, children’s clothing | Shows overall shape and design simply |
| On hanger | Blouses, dresses, jackets, quick inventory workflows | Shows drape and length with minimal setup |
| Folded | Knitwear, denim, basics, detail shots | Creates a tidy, compact presentation |
| Ghost mannequin | Structured garments, dresses, tops, outerwear | Shows shape and fit without a visible model |
| Model image | Statement pieces, fitted garments, lifestyle-focused shops | Helps shoppers visualize scale and styling |
For many sellers, a combination works best. For example, use a clean ghost mannequin image or on-hanger shot as the lead photo, then include flat-lay detail photos and tag images later in the carousel. This gives buyers both a polished overview and the evidence they need to make an informed choice.
Set Up Lighting That Shows True Color
Lighting is one of the biggest factors in successful fashion photos. It affects color accuracy, fabric texture, wrinkles, shadows, and the perceived condition of an item. You do not need a large studio, but you do need light that is soft and consistent.
Natural window light can work well when it is indirect. Place the garment near a bright window, but avoid strong sunbeams that create harsh shadows or washed-out highlights. If daylight changes often, simple soft lights can provide a steadier option.
To get better results, keep these principles in mind:
- Use the same lighting setup for similar items whenever possible.
- Avoid mixing warm indoor bulbs with cool daylight.
- Keep the light source in front of or slightly beside the garment.
- Use a white wall, foam board, or reflector to soften deep shadows.
- Check the garment color on your screen before publishing.
Color accuracy matters especially for shades that are frequently misrepresented in photos, including navy, burgundy, olive, beige, and bright neon colors. If a color is difficult to capture, mention it clearly in the written description as well.
Prepare the Garment Before You Shoot
Photo editing can improve a presentation, but preparation is still the fastest way to create better fashion photos. Take a few moments to inspect every item before it goes in front of the camera.
Remove lint, pet hair, loose threads, stickers, and hanger marks. Fasten buttons and zippers. Straighten collars, cuffs, hems, and straps. Steam or smooth noticeable wrinkles if they distract from the item’s condition or silhouette.
Be careful not to alter the garment beyond recognition. A small crease can be removed, but editing away pilling, discoloration, holes, or wear creates an inaccurate listing. Buyers appreciate clean presentation, but they also expect honesty.
Buyer-first rule: Enhance the visibility of the item, not the reality of its condition.
Use Backgrounds That Keep Attention on the Clothing
A busy background competes with the product. Laundry piles, patterned rugs, crowded racks, and unrelated objects can make even a nice garment feel less appealing. A clean white, light gray, or neutral background is usually a safe choice because it keeps the clothing as the visual focus.
Background removal can be particularly useful when you source inventory in different locations or need to standardize images from multiple photo sessions. It creates a more consistent catalog without requiring every item to be shot in the exact same physical space.
However, inspect the result before posting. Edges around lace, fringe, sheer fabrics, sleeves, and dark garments can sometimes look unnatural. A good final image should have clean outlines without removing important parts of the clothing.
Capture Details That Answer Buying Questions
One polished lead image may earn attention, but detail photos often earn trust. Think like a shopper who is deciding between your listing and another similar one. What information would help them choose confidently?
For most apparel, include close-up images of:
- Fabric weave, knit texture, or material finish
- Print placement, embroidery, sequins, or embellishments
- Closures, including zippers, buttons, snaps, and hooks
- Labels showing size and brand
- Care labels when fabric content is important
- Any visible condition issue, photographed clearly and in context
For flaws, avoid hiding the issue in a dark or distant image. Take one close-up and, if helpful, one wider shot showing where it appears on the garment. Pair this with straightforward language in the item description. Transparency protects your reputation and helps buyers decide whether the item is right for them.
Edit for Consistency, Not Perfection
Editing is where separate photos become a coherent storefront. The best editing workflow is light, fast, and repeatable. Focus on improvements that make the clothing easier to evaluate.
A practical editing order looks like this:
- Crop and straighten the image.
- Adjust brightness so the garment is easy to see.
- Correct color only enough to match the real item.
- Remove distracting backgrounds if needed.
- Reduce distracting wrinkles or clutter without hiding condition.
- Review edges, shadows, and small details at full size.
- Export images in the dimensions recommended by your selling platform.
Avoid aggressive filters, excessive sharpening, dramatic saturation, or skin-smoothing effects on clothing images. These edits can change the perceived texture and color of the garment. In resale, accuracy is more persuasive than visual tricks.
Create a Consistent Listing Look
Consistency makes your shop easier to browse. When every listing has similar lighting, backgrounds, cropping, and image order, shoppers can focus on products instead of adjusting to a different style each time.
Create a basic visual standard for your inventory. For example, decide that every first photo will have a light background, every garment will be centered, and every listing will include a tag photo near the end. You can also keep the same distance between the camera and garment for similar categories.
This does not mean every image has to look identical. A leather jacket may need dramatic detail shots, while a simple cotton tank may benefit from a minimal flat lay. Your standard should create clarity while leaving room to present each item appropriately.
Common Fashion Photo Mistakes to Avoid
- Using only one image: Buyers need multiple angles and details.
- Covering the garment with props: Accessories should not hide the product being sold.
- Leaving distracting wrinkles: They can make a clean item look neglected.
- Overediting flaws: This can lead to complaints and returns.
- Using inconsistent colors: A garment should not look beige in one image and gray in another.
- Forgetting scale: Include measurements in the listing and use a presentation that communicates fit when possible.
- Making the lead image confusing: The first photo should immediately show the item for sale.
Build a Faster Workflow for Better Results
Batching is one of the easiest ways to improve both speed and quality. Instead of completing one listing from start to finish, group similar tasks together. Prepare a batch of garments, photograph them in the same setup, edit them in sequence, and then write listings.
Keep a small station with a lint roller, clips, measuring tape, steamer, neutral backdrop, and phone stand. This reduces interruptions and makes it easier to maintain your standards during busy sourcing or listing days.
AI photo editing tools can also simplify repetitive tasks such as background removal, wrinkle cleanup, and creating consistent apparel presentations. For resellers who primarily shoot on a phone, an app such as Clothing Studio can help streamline those finishing steps while keeping the focus on the garment itself.
Final Takeaway: Make Every Photo Earn Trust
The strongest fashion photos are not necessarily the most complicated. They are bright, accurate, consistent, and informative. They show the garment’s shape, texture, color, labels, and condition in a way that respects the buyer’s time.
Start with a clean setup, choose the presentation style that suits the item, capture the details shoppers need, and edit with restraint. Over time, a dependable photo workflow can help your listings look more credible, feel easier to shop, and give buyers more confidence in every purchase.