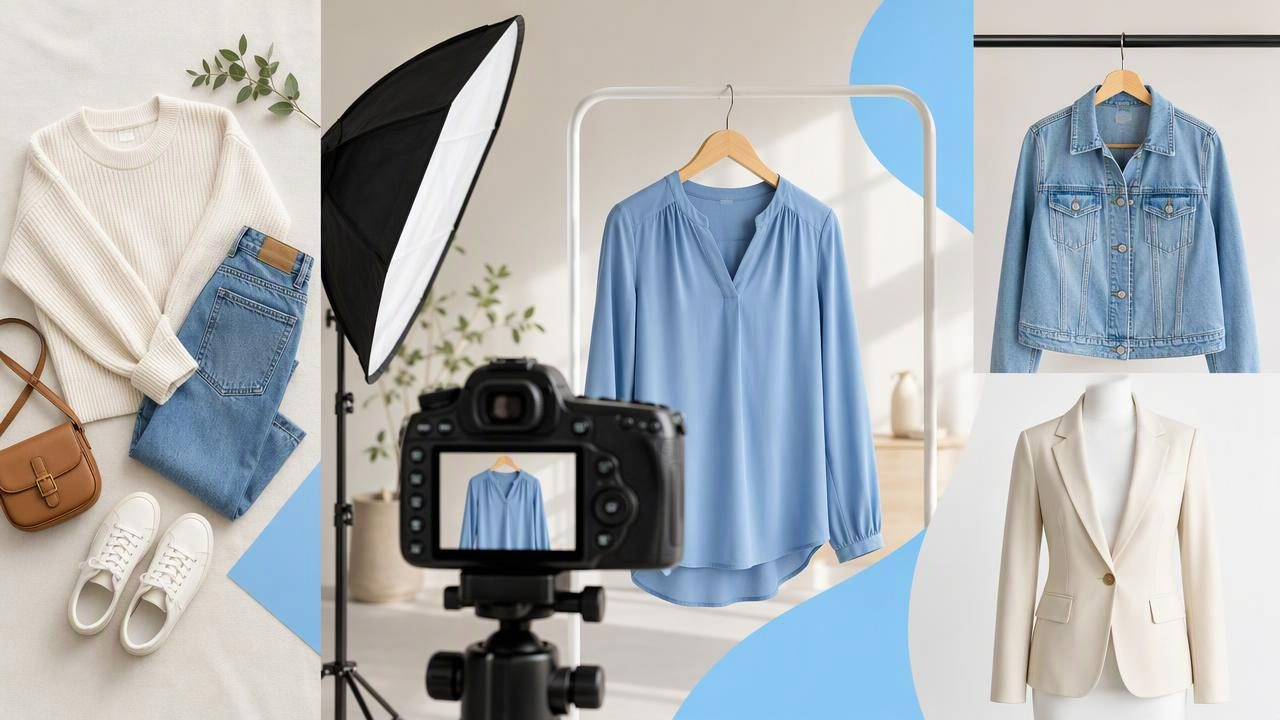
Good fashion photography is not about making a garment look different from what a buyer will receive. It is about presenting the item clearly, consistently, and attractively enough for shoppers to understand its shape, color, texture, and condition before they buy. For fashion resellers, strong photos can reduce uncertainty, make listings easier to browse, and help each item look more professional across marketplaces.
You do not need a studio full of expensive equipment to improve clothing photos. A repeatable setup, a few practical framing decisions, and careful editing can make a significant difference. The goal is simple: show the garment honestly while making it easy for buyers to imagine wearing it.
Why Fashion Photography Matters for Clothing Listings
Online shoppers cannot touch the fabric, check the fit, or inspect construction in person. Your images need to answer the questions they would normally ask while handling an item in a store:
- What is the overall silhouette?
- What color is the garment in normal light?
- How does the fabric drape or hold its structure?
- What details, labels, hardware, and patterns are included?
- Are there visible flaws, wear, or alterations?
Clear images build confidence, especially for secondhand fashion. A clean background and a well-arranged garment help the product stand out, but details still matter. Do not crop out condition issues or edit away marks that a buyer should know about. Accurate photography supports better buyer expectations and can prevent avoidable questions after a sale.
Build a Simple, Repeatable Clothing Photo Setup
Consistency is one of the most useful qualities in e-commerce photography. When every listing has a similar background, lighting style, and crop, your shop looks more organized and buyers can compare items more easily.
Use soft, even lighting
Window light is often enough for clothing photography. Position the garment near a large window, but avoid intense direct sun. Direct sunlight can create hard shadows, make white fabric look overly bright, and hide texture in dark garments. Indirect daylight or a bright overcast day usually produces softer results.
If natural light is unreliable, use two diffused lights placed on either side of the garment. This can help reduce heavy shadows around sleeves, hems, and seams. Check that both sides of the item are evenly lit before photographing it.
Choose a clean backdrop
White, light gray, beige, or a simple neutral wall works well for most clothing listings. Avoid patterned rugs, busy furniture, and colorful surfaces that compete with the item. A neutral background also helps shoppers focus on the actual color and design of the garment.
For flat lays, use a smooth board, foam core, clean sheet, or matte fabric backdrop. For hanger images, leave enough space between the garment and the wall so that shadows do not become distracting.
Keep the camera steady
A smartphone camera can create strong listing images when it is stable and properly positioned. Hold it parallel to the garment when photographing flat lays to avoid distorted proportions. For hanger shots, place the camera at the garment's middle rather than shooting sharply upward or downward.
Clean the phone lens before each session. A small fingerprint smudge can soften images and make fabric details look less defined.
Choose the Right Clothing Presentation Style
Different garments benefit from different presentation methods. The best format depends on the item, the marketplace, and what buyers need to see. Using more than one style within the same listing can be especially helpful.
| Presentation style | Best for | What it shows well |
|---|---|---|
| Flat lay | T-shirts, knitwear, jeans, casual pieces | Prints, measurements, overall condition |
| On-hanger | Dresses, blouses, coats, structured items | Length, drape, neckline, sleeves |
| Folded | Sweaters, scarves, denim, packaged items | Texture, labels, compact presentation |
| Ghost mannequin | Tailored garments, dresses, tops, jackets | Shape and wearable silhouette |
| Detail close-up | Every garment type | Fabric, tags, buttons, flaws, embroidery |
Flat lay photography
A flat lay is practical, fast, and effective for many resale listings. Smooth the garment gently, align the sleeves, and make sure the hem is not bunched. Leave a small border around the item so it does not feel cramped in the frame.
Flat lays work especially well for graphic tees, sweaters, pants, and items with detailed prints. They are also useful when you need to photograph measurements. However, they may not communicate the shape of highly structured garments as clearly as a hanger or mannequin presentation.
On-hanger photography
Hanger photos are useful when a garment needs vertical space to show its drape. Use a simple, sturdy hanger that does not distract from the item. Make sure shoulder seams are seated correctly and collars are straight. For jackets and shirts, lightly shape the sleeves and fasten enough buttons to show the intended silhouette.
One limitation is that hangers can pull or stretch delicate necklines and may make some garments look narrower than they are. Photograph the item from the front, back, and a detail angle so buyers have a fuller view.
Ghost mannequin photography
Ghost mannequin images create the impression that a garment is being worn without showing a visible model or mannequin. This approach can be useful for clothing with a defined shape, such as blazers, dresses, shirts, and outerwear. It helps buyers understand neckline depth, sleeve placement, and general structure.
It is important to treat this format as a presentation tool rather than a fit guarantee. A ghost mannequin image cannot confirm how an item will fit every body type, and it should not be used to hide defects, missing parts, or unusual alterations. Compare the finished image with the original garment and include close-ups where details may matter.
A Practical Photo Sequence for Every Listing
A complete listing does not need twenty nearly identical photos. Instead, use a deliberate sequence that covers the most important information. Here is a useful order for a typical cardigan, dress, or jacket:
- Front hero image: A clean, well-lit image showing the complete garment.
- Back view: Show the rear shape, closure, or design details.
- Side or angled view: Useful for structure, thickness, and drape.
- Fabric close-up: Capture knit texture, print, weave, or material finish.
- Brand and size label: Make the label legible and in focus.
- Condition photo: Document pilling, marks, loose threads, fading, or repairs honestly.
- Measurement photo: Show a tape measure across key points where appropriate.
This sequence gives buyers both the polished overview and the practical evidence they need to make a decision. It also keeps your fashion photography workflow efficient because you can repeat the same shot list for each garment.
Example: Photographing a Pre-Owned Linen Blazer
Imagine you are listing a navy linen blazer with a lightly wrinkled texture, two front pockets, and a small mark inside one cuff. Start by steaming or gently arranging it so the major folds do not distract from the silhouette. Linen naturally creases, so avoid over-editing it into an unrealistically smooth surface.
First, photograph the blazer on a hanger or in a ghost mannequin-style presentation to show the shoulders, lapels, and length. Then take a flat-lay image of the back. Add close-ups of the linen weave, buttons, size tag, and interior cuff mark. In the listing description, state that the garment has natural linen texture and note the visible cuff mark.
This approach improves presentation without changing the truth of the item. Buyers can see the blazer's shape while also receiving enough condition information to shop confidently.
Edit Clothing Photos Without Misrepresenting the Item
Editing should support clarity, not create a misleading product image. Basic adjustments can help make a listing look polished:
- Crop images consistently while keeping the full garment visible.
- Brighten slightly when the original photo is too dark.
- Correct a strong color cast caused by indoor lighting.
- Remove a distracting background when the garment edges remain accurate.
- Reduce distracting temporary wrinkles when they obscure the item’s silhouette.
Be cautious with aggressive smoothing, color changes, or shape adjustments. Fabric texture, natural creasing, wear, and construction details are part of the product. Editing cannot reliably recreate hidden areas, repair damage, or provide an exact simulation of fit. Always compare the edited result with the original photo before publishing.
Common Fashion Photography Mistakes to Avoid
- Using only one photo: A single front image rarely provides enough information.
- Shooting under mixed lighting: Combining warm lamps and daylight can make colors inaccurate.
- Ignoring garment preparation: Twisted straps, uneven collars, and bunched hems look careless.
- Overcrowding the frame: Props and busy backgrounds can distract from the item.
- Hiding flaws: Honest condition photos are more useful than an overly polished listing.
- Forgetting details: Labels, closures, lining, and fabric close-ups often answer buyer questions.
Create a Workflow You Can Maintain
The best fashion photography workflow is one you can repeat when you have five items or fifty. Batch similar tasks together: prepare garments first, photograph all front views next, take details afterward, and edit in one session. Save a simple checklist near your shooting area so you do not forget labels, measurements, or flaw photos.
If you use AI editing for clothing images, review every result carefully. For a closer look at silhouette-focused presentation, Clothing Studio’s guide to ghost mannequin photos explains where this format can be useful; full app features require a subscription. Whatever tools you choose, the most effective listing photos remain accurate, well lit, and easy for buyers to understand.
