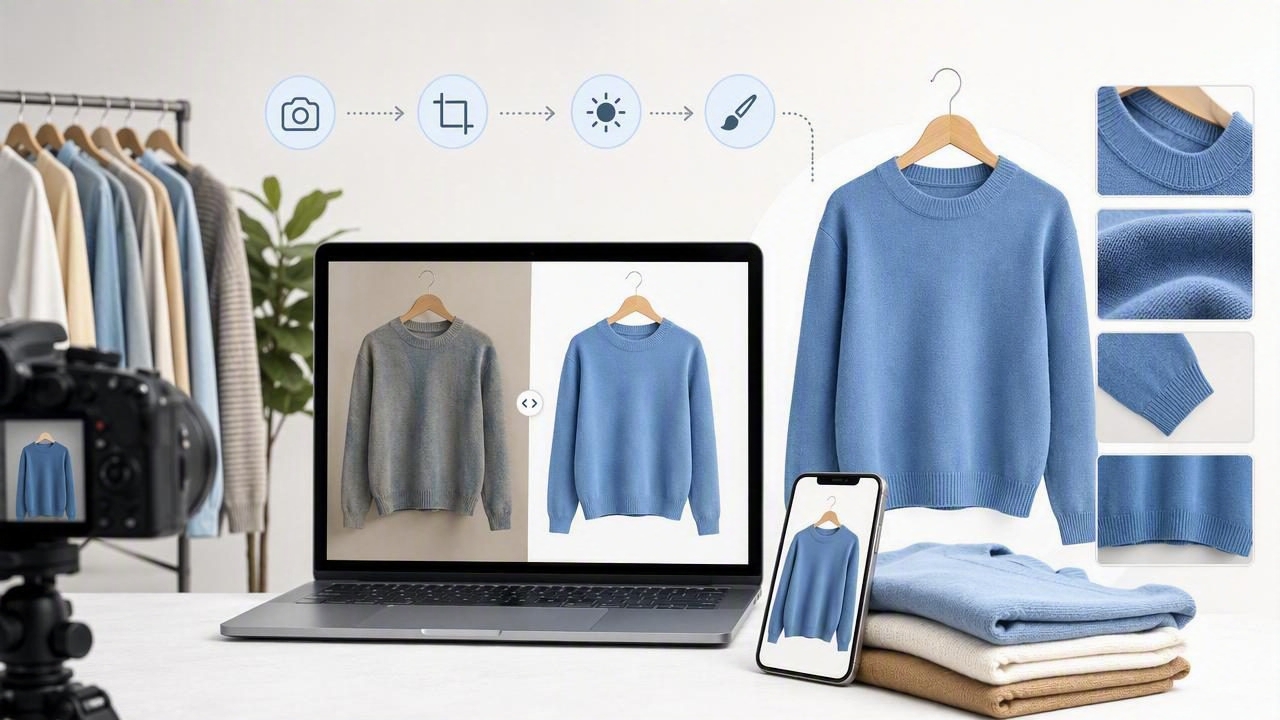
Great clothing listings begin with great photos. On eBay, buyers cannot feel the fabric, check the fit, or inspect a garment’s condition in person. They rely on your images to decide whether an item looks worth buying. That makes a reliable eBay photo editor an important part of a fashion reseller’s workflow.
You do not need a studio full of expensive equipment to create polished clothing photos. What matters most is accuracy, consistency, and a presentation that helps shoppers understand exactly what they are buying. With a few thoughtful photography habits and the right editing steps, you can turn everyday garment images into listing-ready photos that look clean and trustworthy.
This guide explains how to edit clothing photos for eBay, which adjustments matter most, what to avoid, and how to build a faster repeatable workflow.
Why Photo Quality Matters on eBay
eBay shoppers often compare several similar listings before purchasing. A clean, well-lit primary image can make your product easier to notice in search results, while clear detail images reduce uncertainty once a buyer opens the listing.
For clothing, photos answer important buyer questions:
- What is the true color of the garment?
- What is the overall shape and silhouette?
- Does it appear clean and well cared for?
- Are there signs of wear, flaws, stains, or damage?
- What do the fabric, label, measurements, and details look like?
Strong e-commerce photography is not about making an item look unrealistically perfect. It is about presenting it clearly. Editing should remove distractions, improve visibility, and keep the item faithful to its real condition.
What an eBay Photo Editor Should Help You Do
The best editing workflow is not necessarily the one with the most tools. It is the one that helps you prepare images quickly without changing the item’s appearance. For clothing resellers, the most useful editing features typically focus on cleanup and consistency.
| Editing Feature | Why It Helps Clothing Listings |
|---|---|
| Background removal | Eliminates distracting rooms, floors, hangers, or clutter behind the item. |
| Brightness and exposure adjustment | Makes dark garments and small details easier for buyers to see. |
| Color correction | Helps photos better match the real garment color under natural or indoor light. |
| Crop and straighten tools | Creates a neat, consistent frame that keeps attention on the product. |
| Wrinkle reduction | Improves presentation while preserving the garment’s natural drape and structure. |
| Ghost mannequin creation | Shows shape and fit without requiring a live model in every image. |
A good eBay photo editor should support your process rather than slow it down. If an edit takes too long for a low-cost item, simplify the workflow. Reserve more detailed editing for higher-value pieces, bundles, or items where presentation has a clear impact on perceived value.
Start With Better Original Photos
Editing can improve an image, but it cannot fully rescue a blurry, poorly lit, or badly framed photo. The fastest way to improve your listing photography is to make the original shot easier to edit.
Use soft, even lighting
Window light is often an excellent option for clothing photos. Place the garment near bright indirect light rather than harsh direct sun. This helps reduce heavy shadows and makes fabric texture easier to see. If you use artificial lighting, aim for even illumination from more than one direction.
Choose one presentation style
Clothing can be photographed flat lay, on a hanger, on a mannequin, or as a ghost mannequin image. Each format can work well, but consistency makes your eBay store look more organized. For example, you might photograph tops on hangers, jeans laid flat, and dresses with a mannequin-based presentation.
Photograph enough angles
Your first image should be your clearest overall view. Then include front, back, label, size tag, fabric detail, and any notable features. If there is a flaw, photograph it clearly. Honest photos help prevent disappointed buyers, returns, and unnecessary questions.
Helpful rule: Edit for clarity, not concealment. If a mark, pull, fade, or repair affects the condition, show it in a close-up image and describe it accurately in the listing.
A Simple eBay Clothing Photo Editing Workflow
Once you have taken your photos, follow the same sequence for every item. A repeatable process saves time and creates a recognizable visual standard across your inventory.
- Choose your best images. Remove duplicates, blurry shots, and photos where the garment is partially hidden.
- Crop and straighten. Keep the garment centered with enough space around its edges. Avoid extreme cropping that hides shape or proportion.
- Adjust brightness and white balance. Lift dark shadows gently and correct overly warm or cool lighting so the color looks natural.
- Remove or simplify the background. Use a plain, neutral background when appropriate, especially for the main product image.
- Reduce visible wrinkles carefully. Improve distracting creases without flattening seams, knit texture, pleats, or fabric details.
- Review color and condition. Compare the edited image to the actual garment before publishing.
- Export a sharp, high-resolution file. Keep a clean original version in case you need it later for relisting or another marketplace.
This workflow may take only a few minutes per item once it becomes routine. Batch editing similar garments at the same time can make it even faster.
How to Use Background Removal Without Making Photos Look Artificial
Background removal is one of the most useful tools for fashion reselling because it separates the item from distracting surroundings. It can turn a photo taken in a spare room, thrift workspace, or home office into a cleaner e-commerce image.
However, a cutout only works when the garment’s edges remain believable. Before uploading, inspect areas where automated tools may make mistakes:
- Thin straps, belts, drawstrings, and fringe
- Sheer sleeves or lace sections
- Faux fur, textured knits, and feathered trims
- Dark clothing photographed against a dark background
- Areas around the neckline, cuffs, and hem
For most listings, a simple white or light neutral background is a safe choice because it keeps focus on the clothing. Avoid busy graphic backdrops, dramatic shadows, or decorative elements that compete with the item. Buyers should immediately understand what is for sale.
When Ghost Mannequin Images Make Sense
A ghost mannequin image gives clothing a structured, worn appearance without showing the mannequin itself. This style is particularly useful for blazers, dresses, outerwear, shirts, and fitted tops because it helps buyers visualize the garment’s shape.
Use ghost mannequin presentation when silhouette is a major selling point. It can show shoulder structure, sleeve length, waist shape, neckline, and drape more clearly than a flat lay. It is also a practical middle ground for sellers who do not want to model every item.
Still, ghost mannequin images are not necessary for every garment. Folded sweaters, jeans, accessories, and casual basics can often look excellent with a well-arranged flat lay or hanger photo. Choose the format that best communicates the item, rather than using one style simply because it is available.
Common eBay Clothing Photo Editing Mistakes
Even polished images can create buyer confusion when edits go too far. Watch for these common problems:
- Oversaturated colors: A brightened red, blue, or green may look attractive but can lead to complaints if the garment arrives in a different shade.
- Heavy smoothing: Removing every crease can erase important texture and make fabric look plastic or artificial.
- Over-sharpening: Too much sharpening creates harsh outlines and can exaggerate lint or weave patterns.
- Inconsistent backgrounds: Random colors and styles across listings can make a store look less cohesive.
- Hiding flaws: This may increase short-term clicks, but it can damage buyer confidence and increase return risk.
- Using only one photo: One attractive image rarely answers all the questions a buyer has about clothing.
Create a Photo Standard for Your Store
Consistency is one of the easiest ways to make a small resale operation look more established. Create a simple photo standard and follow it for every listing. Your standard might include a preferred background, image order, crop style, and set of required detail shots.
For example, your listing photo sequence could be:
- Clean full front view
- Full back view
- Brand and size label
- Fabric or texture close-up
- Measurements or important construction details
- Clear close-up of any condition issue
This approach helps buyers browse faster and helps you list faster. It also makes it easier to train a helper or maintain quality when your inventory grows.
Final Checklist Before Uploading to eBay
- Does the main image show the complete item clearly?
- Is the garment’s color close to how it looks in person?
- Is the background clean and free of distractions?
- Are the item’s shape, fabric, and key details visible?
- Have you included label, size, and condition photos?
- Are any flaws shown honestly and described in the listing?
- Do the photos match the visual style of your other listings?
A thoughtful eBay photo editor workflow does more than make listings look polished. It makes shopping easier, supports accurate expectations, and gives buyers more confidence in what they are purchasing. Whether you sell occasional closet cleanouts or manage a growing resale business, clean images are a practical investment in better clothing presentation.
For sellers who want to streamline background removal, wrinkle cleanup, and ghost mannequin-style clothing images from a phone, tools such as Clothing Studio can help keep the editing process efficient.