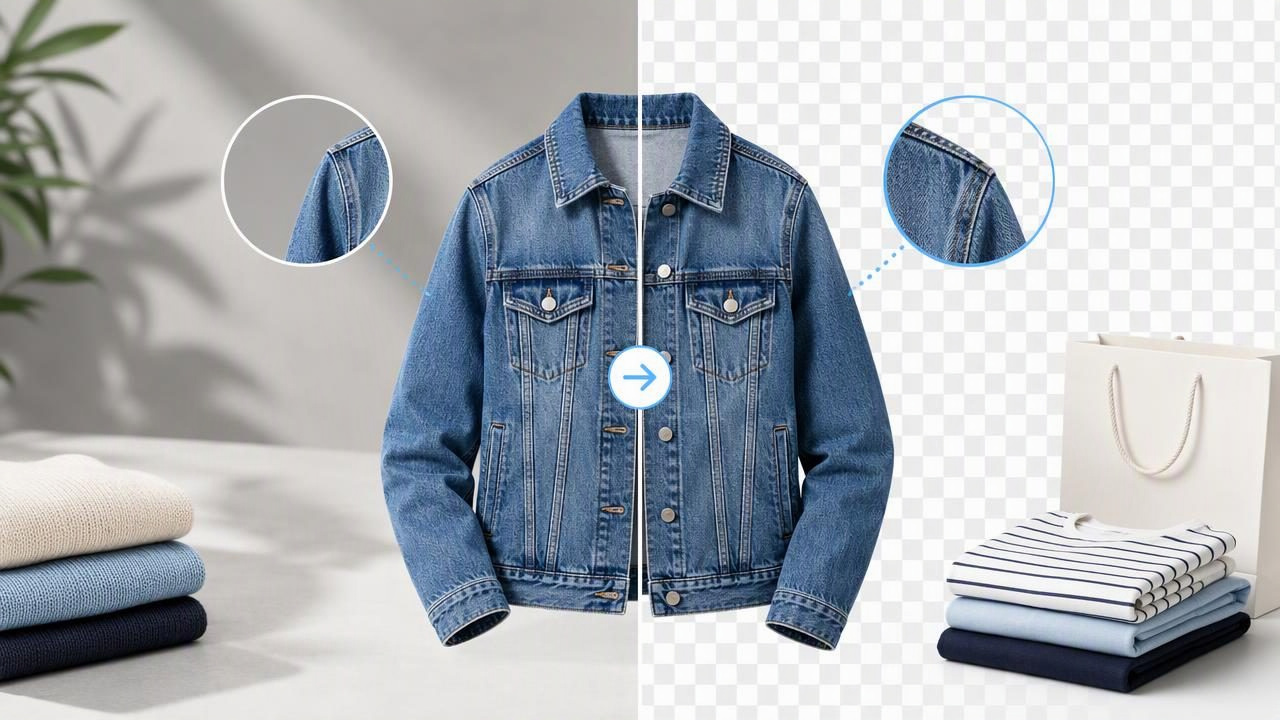
A background remover can make clothing listings look cleaner, more consistent, and easier to browse. For fashion resellers and e-commerce sellers, removing a distracting bedroom wall, busy carpet, or uneven studio backdrop helps the buyer focus on the item itself. However, a clean background should never come at the cost of an accurate garment image.
Clothing is one of the more challenging product categories for background removal. Thin straps, lace, fringe, sheer panels, loose threads, ruffles, dark garments on dark surfaces, and fluffy textures can all create difficult edges. A good result is not simply a shirt placed on white. It is a photo where the clothing remains recognizable, its shape is honest, and important details are still visible.
This guide explains how to prepare, edit, and review apparel images so a background remover supports better clothing presentation without misrepresenting what a buyer will receive.
Why Background Removal Matters for Clothing Listings
Online shoppers make quick decisions. When a listing grid contains photos with mixed lighting, cluttered rooms, visible laundry baskets, or inconsistent walls, the collection can feel less organized. A simple, consistent background gives each garment more visual space and makes it easier to compare colors, cuts, and silhouettes.
For resale platforms and independent storefronts, background removal can be useful for:
- Creating a more consistent visual style across listings.
- Reducing distractions around the garment.
- Making cropped thumbnails easier to scan on mobile.
- Supporting clean flatlay, on-hanger, folded, and ghost mannequin presentations.
- Helping buyers notice key features such as collars, pockets, sleeves, and hems.
Still, a polished image should remain a truthful image. Removing the background does not replace the need for multiple photos, clear condition notes, or close-ups of flaws. If there is a stain, snag, faded section, missing button, or worn fabric area, show it separately and describe it accurately.
Start With a Photo That Is Easy to Edit
The quality of the original photograph has a major effect on the final cutout. A background remover can separate a garment more reliably when the item is clearly visible and reasonably distinct from its surroundings. Preparation is often faster than trying to correct a difficult selection later.
Choose contrast between the garment and the backdrop
Place the clothing against a surface that contrasts with its main color. A black blazer photographed on a charcoal rug can lose parts of its sleeves and hem. A pale cream knit photographed on a white bedspread can make the neckline and edges disappear. You do not need a professional studio: a plain wall, foam board, clean sheet, or uncluttered floor can work when the garment is separated visually from the background.
Contrast does not mean using a highly colorful backdrop. Bright patterns and intense colors can reflect onto light fabrics or compete with the item. A matte, neutral surface is usually the easier choice.
Use even, natural-looking light
Uneven lighting can create shadows that resemble part of the garment. It may also make one side of a dress look like a different color. Photograph near indirect daylight or use diffuse indoor light where possible. Avoid strong overhead lighting that creates a hard shadow beneath hangers, sleeves, or folds.
Before editing, check that the garment color in the photo resembles the garment in person. Background removal should not be used to hide a color mismatch caused by poor lighting.
Give the garment room around the edges
Do not crop tightly against cuffs, hems, straps, or shoulders in the original photo. Leave a visible margin around the entire item. This gives the editor more visual information and makes it less likely that an edge will be clipped. You can crop for the final listing after reviewing the cutout.
Match the Background Remover Approach to the Garment Layout
Different clothing presentations create different editing challenges. The best approach depends on how the item is arranged and what the buyer needs to see.
| Presentation style | Best use | Background removal checks |
|---|---|---|
| Flatlay | Showing the full shape of tees, jeans, dresses, and sets | Check flattened sleeves, hems, and shadows around the outline. |
| On hanger | Showing drape and shoulder shape | Inspect straps, hanger hooks, underarm gaps, and the area behind the neckline. |
| Folded | Showing sweaters, graphic tees, and compact product stacks | Ensure fabric layers remain separate and graphics are not softened. |
| Ghost mannequin | Showing a garment’s structure without a visible model | Review neck openings, armholes, inner seams, and natural proportions. |
For example, a folded navy sweatshirt on a light wood table may be a straightforward background removal job because the sweatshirt has a distinct outline. A cream crochet top with tassels on a pale blanket needs closer inspection. Its open weave and fine tassels may blend into the background, so the seller should compare the edited image with the original before publishing.
A Practical Workflow for Cleaner, Honest Results
- Prepare the garment. Remove lint, arrange sleeves, straighten the hem, and position the item so key features are visible. Do not pull or pin the garment into a shape that changes its fit.
- Take an original reference photo. Keep at least one unedited image for your records and use it to compare color, edge detail, and shape after editing.
- Remove the background. Select a simple output background that fits your selling channel, such as white, off-white, or a light neutral tone.
- Inspect the perimeter at full size. Look closely at collars, buttons, cuffs, belt loops, straps, lace, fringe, and loose hems.
- Review the garment interior. Check openings around the neck, armholes, and between straps. These spaces should not be filled in accidentally or cut away.
- Compare with the original. Confirm that the product’s visible outline, length, volume, and texture cues still make sense.
- Add supporting listing photos. Include close-ups of labels, fabric content, graphics, measurements, and any wear or defects.
What to Check Before You Publish
Do not judge a background-removed photo only from a small preview. Zoom in and use a short quality-control checklist. Tiny artifacts can become obvious when a customer views a product image on a large screen or zooms into the listing.
- Missing edges: Are any thin straps, fringes, sleeve tips, or scalloped hems partially erased?
- Background halos: Is there a light or dark outline around the garment that makes it look cut out?
- Incorrect holes: Are lace details, mesh panels, and open necklines represented sensibly?
- Natural shape: Do the shoulders, sleeves, waist, and hem look like the original garment?
- Color accuracy: Does the final background make the clothing appear unusually warmer, cooler, brighter, or darker?
- Condition visibility: Have marks, pilling, or wear areas become less visible due to editing or reduced contrast?
If an edge looks uncertain, use a different original photo with more contrast, adjust the garment layout, or keep the natural background for that particular detail shot. Consistency is valuable, but clarity is more important than forcing every image into the same format.
Common Background Remover Mistakes to Avoid
Using a pure white background for every white garment
A white item against a white output background can be clean, but it may lose its outer shape. A subtle off-white, light gray, or very pale warm background may make the edges easier to see. The goal is not dramatic contrast; it is enough separation for buyers to understand the item.
Removing every natural shadow
Very soft shadows can help a folded item or flatlay retain a sense of depth. Eliminating all tonal variation may make clothing look unnaturally flat. Avoid presenting the garment in a way that suggests a different thickness, fit, or texture than the original.
Relying on one edited image
A primary image can be clean and simplified, but shoppers still need evidence. Include a front view, back view, close-ups, label image, and clear photos of any flaws. For structured garments, a detail photo of the collar, lining, or closure can be especially useful.
Expecting editing to repair garment problems
Background removal can improve the setting around clothing, but it does not repair holes, restore missing fibers, fix fading, or guarantee that fine texture remains perfectly represented. Similarly, an edited presentation cannot confirm exact fit on a body. Use measurements, fabric information, and honest condition notes to fill those gaps.
When a Clean Cutout Is Especially Useful
A clean background is most effective when it supports the buyer’s next question. For a vintage jacket, the primary cutout can show its silhouette while additional close-ups show patina and hardware. For a branded sweatshirt, the removed background can make the front graphic easier to notice. For a dress, an on-hanger or ghost mannequin image can clarify the neckline and overall structure, while measurement photos provide the practical fit information.
Think of the background remover as one part of e-commerce photography rather than the whole process. Good clothing presentation combines a clear primary image with accurate color, useful angles, condition disclosure, and consistent styling.
Final Takeaway
The best background-removed clothing photo is clean without looking artificial. Begin with a well-lit original, use contrast between the garment and its setting, check delicate details after editing, and compare the final image with the original before listing. This approach helps produce a more organized storefront while protecting buyer trust.
For sellers exploring garment-focused editing, Clothing Studio’s guide to ghost mannequin photos offers additional context on presenting apparel structure while keeping the clothing itself central to the image.
