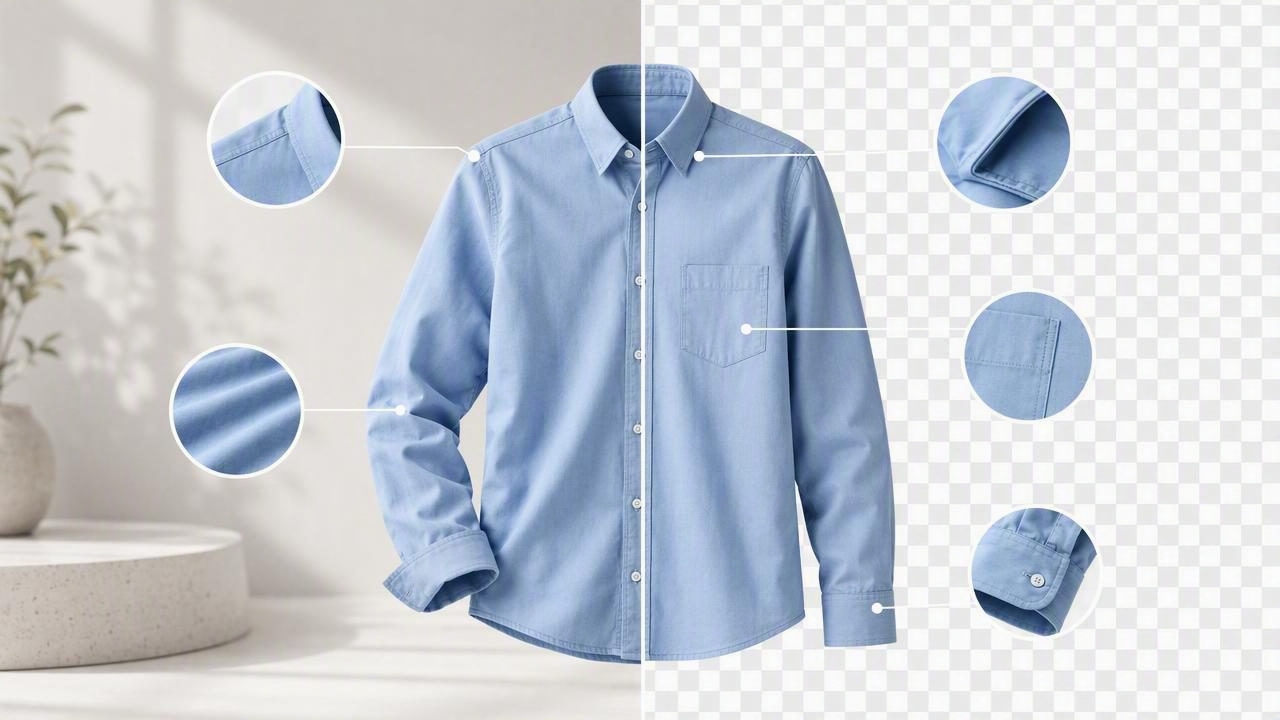
Background removal for clothing photos can make a product listing look cleaner, more consistent, and easier to shop. A distracting room, patterned wall, carpet, or clothing rack can pull attention away from the item you want to sell. Replacing that setting with a simple, neutral background helps shoppers focus on the garment’s color, shape, neckline, sleeves, and condition.
However, removing a background is not simply a matter of making everything behind the garment disappear. Clothing has soft edges, folds, straps, hems, sheer sections, textured fabrics, and overlapping layers. A rushed edit can leave behind halos, clipped sleeves, missing straps, or unnatural outlines that make a listing feel less trustworthy.
This guide explains how to create polished apparel images while preserving an honest presentation of the garment. Use it whether you photograph clothing on a hanger, as a flat lay, folded on a surface, or prepared for a ghost mannequin-style product image.
Why Clean Backgrounds Matter in E-Commerce Clothing Photography
Online shoppers cannot touch the fabric, inspect the seams, or see how the garment looks from across the room. Product photos therefore do much of the work that in-store presentation would normally handle. A clean background gives the item visual space and can make a catalog, resale closet, or marketplace storefront feel more organized.
For fashion resellers and brands, a consistent background can help shoppers compare multiple listings more easily. When every item is photographed against different surfaces, rooms, and lighting conditions, the storefront may look uneven. When images use a similar neutral treatment, the product assortment can feel more intentional.
Background removal is especially useful when:
- You photograph items in a bedroom, office, storage area, or thrift haul space.
- Your available backdrop has wrinkles, stains, shadows, or changing light.
- You want a uniform main image across many apparel listings.
- You need to remove hangers, walls, tables, or props that compete with the garment.
- You want to place the clothing on a white, light gray, or brand-consistent background.
A clean background should support the item, not disguise it. The goal is a clearer product presentation—not a misleading one.
Start With a Better Original Photo
The quality of a background-removed image depends heavily on the original photo. Editing can help isolate the garment, but it cannot reliably recreate details that were hidden by blur, poor lighting, harsh glare, or an obstructed view.
Before using background removal for clothing photos, take a moment to prepare the garment and shooting area.
Use Separation Between the Garment and Background
Choose a background that contrasts with the clothing. A black cardigan against a dark closet wall, for example, can make it difficult to distinguish the shoulder line, cuffs, and side seams. A light garment against a bright wall can create similar problems around white or cream edges.
Contrast does not have to mean a dramatic color clash. A medium-gray wall behind a white shirt or a pale backdrop behind a navy dress often gives the editor a clearer boundary to work with.
Give Delicate Details Room to Show
Straps, ruffles, fringe, lace, sheer mesh, and loose ties need visual space. Avoid placing these details directly over another object or against a busy pattern. If a thin strap blends into a background shadow, it may be hard to retain a clean, accurate edge.
Light the Garment Evenly
Soft, even light helps show the garment’s true color and construction. Window light can work well when it is indirect. Avoid strong overhead shadows, bright sunlight streaks, or flash glare that can flatten the fabric or create sharp shadows around the outline.
Good lighting also makes quality control easier. You can more clearly see whether an apparent edge issue comes from the edit or from a wrinkle, shadow, or fold in the original image.
Choose the Right Clothing Presentation Before Editing
Background removal works differently depending on how the garment is presented. There is no single best layout for every item. The right choice depends on what information a shopper needs to see.
| Presentation style | Best for | Background removal consideration |
|---|---|---|
| On hanger | Jackets, dresses, blouses, structured items | Check hanger edges, shoulder shape, and exposed hooks. |
| Flat lay | T-shirts, jeans, knitwear, casual separates | Keep sleeves and hems separated from props and shadows. |
| Folded | Sweaters, denim, packaged items, logo details | Make sure folds do not hide key labels or product features. |
| Ghost mannequin | Garments where fit and interior shape matter | Inspect necklines, armholes, waist openings, and interior joins. |
For example, a ribbed cream cardigan photographed on a black hanger may benefit from a neutral background, but the neckline, buttons, and sleeve edges should remain visible. If the hanger is removed or minimized, inspect the shoulder area afterward to ensure it still looks naturally supported rather than clipped or uneven.
A Step-by-Step Quality Checklist for Background Removal
Once the background has been removed, do not publish immediately. Review the image at both normal listing size and a closer zoom. Small editing errors can be easy to miss on a phone screen but more noticeable to a shopper viewing product images closely.
- Check the full garment outline. Look around the shoulders, sleeves, side seams, hems, collars, and cuffs. The edge should follow the actual garment without looking jagged, melted, or cut away.
- Inspect thin details. Review straps, belts, drawstrings, fringe, ties, lace trim, and open knit areas. These are common places for missing or partially erased details.
- Look for halos. A halo is a faint rim of the old background left around the item. It can be especially visible around dark clothing placed on a bright new background.
- Review color accuracy. Ensure the new background has not made the garment look noticeably warmer, cooler, darker, or lighter than it does in person.
- Keep real shadows purposeful. A subtle natural shadow can help an item look grounded. A dark, uneven remnant of the original environment can look accidental and should be reviewed.
- Confirm important features remain visible. Logos, buttons, labels, pockets, embroidery, distressed details, and trim should not be obscured by aggressive cleanup.
- Compare with the original. Keep the original image available and compare it side by side with the edited version before listing.
What a Good Result Looks Like
A successful edit should make the product easier to understand at a glance. The garment should appear cleanly separated from its surroundings while still looking like the original item. Its silhouette, construction, visible texture, and known condition should remain truthful.
A useful rule: If the edited image makes you unsure whether a visible feature belongs to the garment or to the edit, use the original photo as the reference and correct the presentation before publishing.
Consider a practical example: you photograph a blue linen shirt hanging against a beige wall. The image contains a faint wall shadow, a visible hanger hook, and part of a nearby shelf. After background removal, the shirt can be placed on a clean light-gray background. Before using it as the main listing image, check that the slightly uneven linen hem has not been straightened unintentionally, the cuff buttons are still present, and the blue color still resembles the original photo. The goal is a cleaner scene, not a different shirt.
Common Mistakes to Avoid
Using a Background That Is Too Similar to the Garment
White, ivory, beige, gray, and black garments can be challenging when photographed against nearly identical backdrops. The result may have faint edges or missing sections. Create more contrast during the photo shoot whenever possible.
Removing Evidence of Condition
Background cleanup should not hide stains, pilling, fading, holes, pulls, discoloration, or other flaws that a buyer should know about. Include clear close-up photos of condition concerns, and describe them accurately in the listing. A polished main image and transparent detail photos can work together.
Overediting the Fabric
Natural folds, knit texture, denim grain, and linen variation are part of how a garment looks. Some wrinkle reduction may improve presentation, but excessive smoothing can make fabric look artificial. It also cannot guarantee exact texture preservation or repair hidden defects.
Using One Image to Show Everything
A background-removed hero image is valuable, but it should not replace supporting photos. Add front, back, label, fabric, measurement, and flaw images where relevant. Buyers often need these views to make a confident decision.
Best Background Colors for Clothing Listings
White is a popular option because it feels clean and works across many marketplaces. Still, it is not always the best choice. A very light garment may benefit from a pale gray background that preserves its outline. Dark clothing can look crisp on white or soft gray, while bright colors often work well against neutral tones that do not compete with them.
- White: Clean, familiar, and versatile for catalog-style listings.
- Light gray: Helpful for maintaining visibility around white, cream, and pale pastel garments.
- Warm off-white: Can suit natural fibers and softer brand aesthetics, but check color contrast carefully.
- Brand color: Use sparingly and consistently when it does not distract from the apparel.
Whichever background you choose, use it consistently enough that shoppers recognize the garment—not the editing treatment—as the focus.
Build a Trustworthy Apparel Photo Set
Background removal is most effective as part of a complete clothing photography process. Start with a well-lit original image, choose a presentation style that suits the garment, remove distracting surroundings, and then inspect the result against the original. Finish with supporting photos that show the item honestly from multiple angles.
For sellers who want to combine cleaner backgrounds with garment-focused editing, Clothing Studio offers an iOS photo-editing workflow, and its guide on removing clothing wrinkles from product photos can help clarify when wrinkle retouching supports a better presentation. Review any edited image carefully, as subscriptions are required for full features and no edit should replace accurate condition photos.
When used thoughtfully, background removal for clothing photos helps create a cleaner listing experience while keeping the product itself clear, recognizable, and trustworthy.
